10 Twist Back Crown Waves Hairstyle Ideas I Love Recreating on Clients
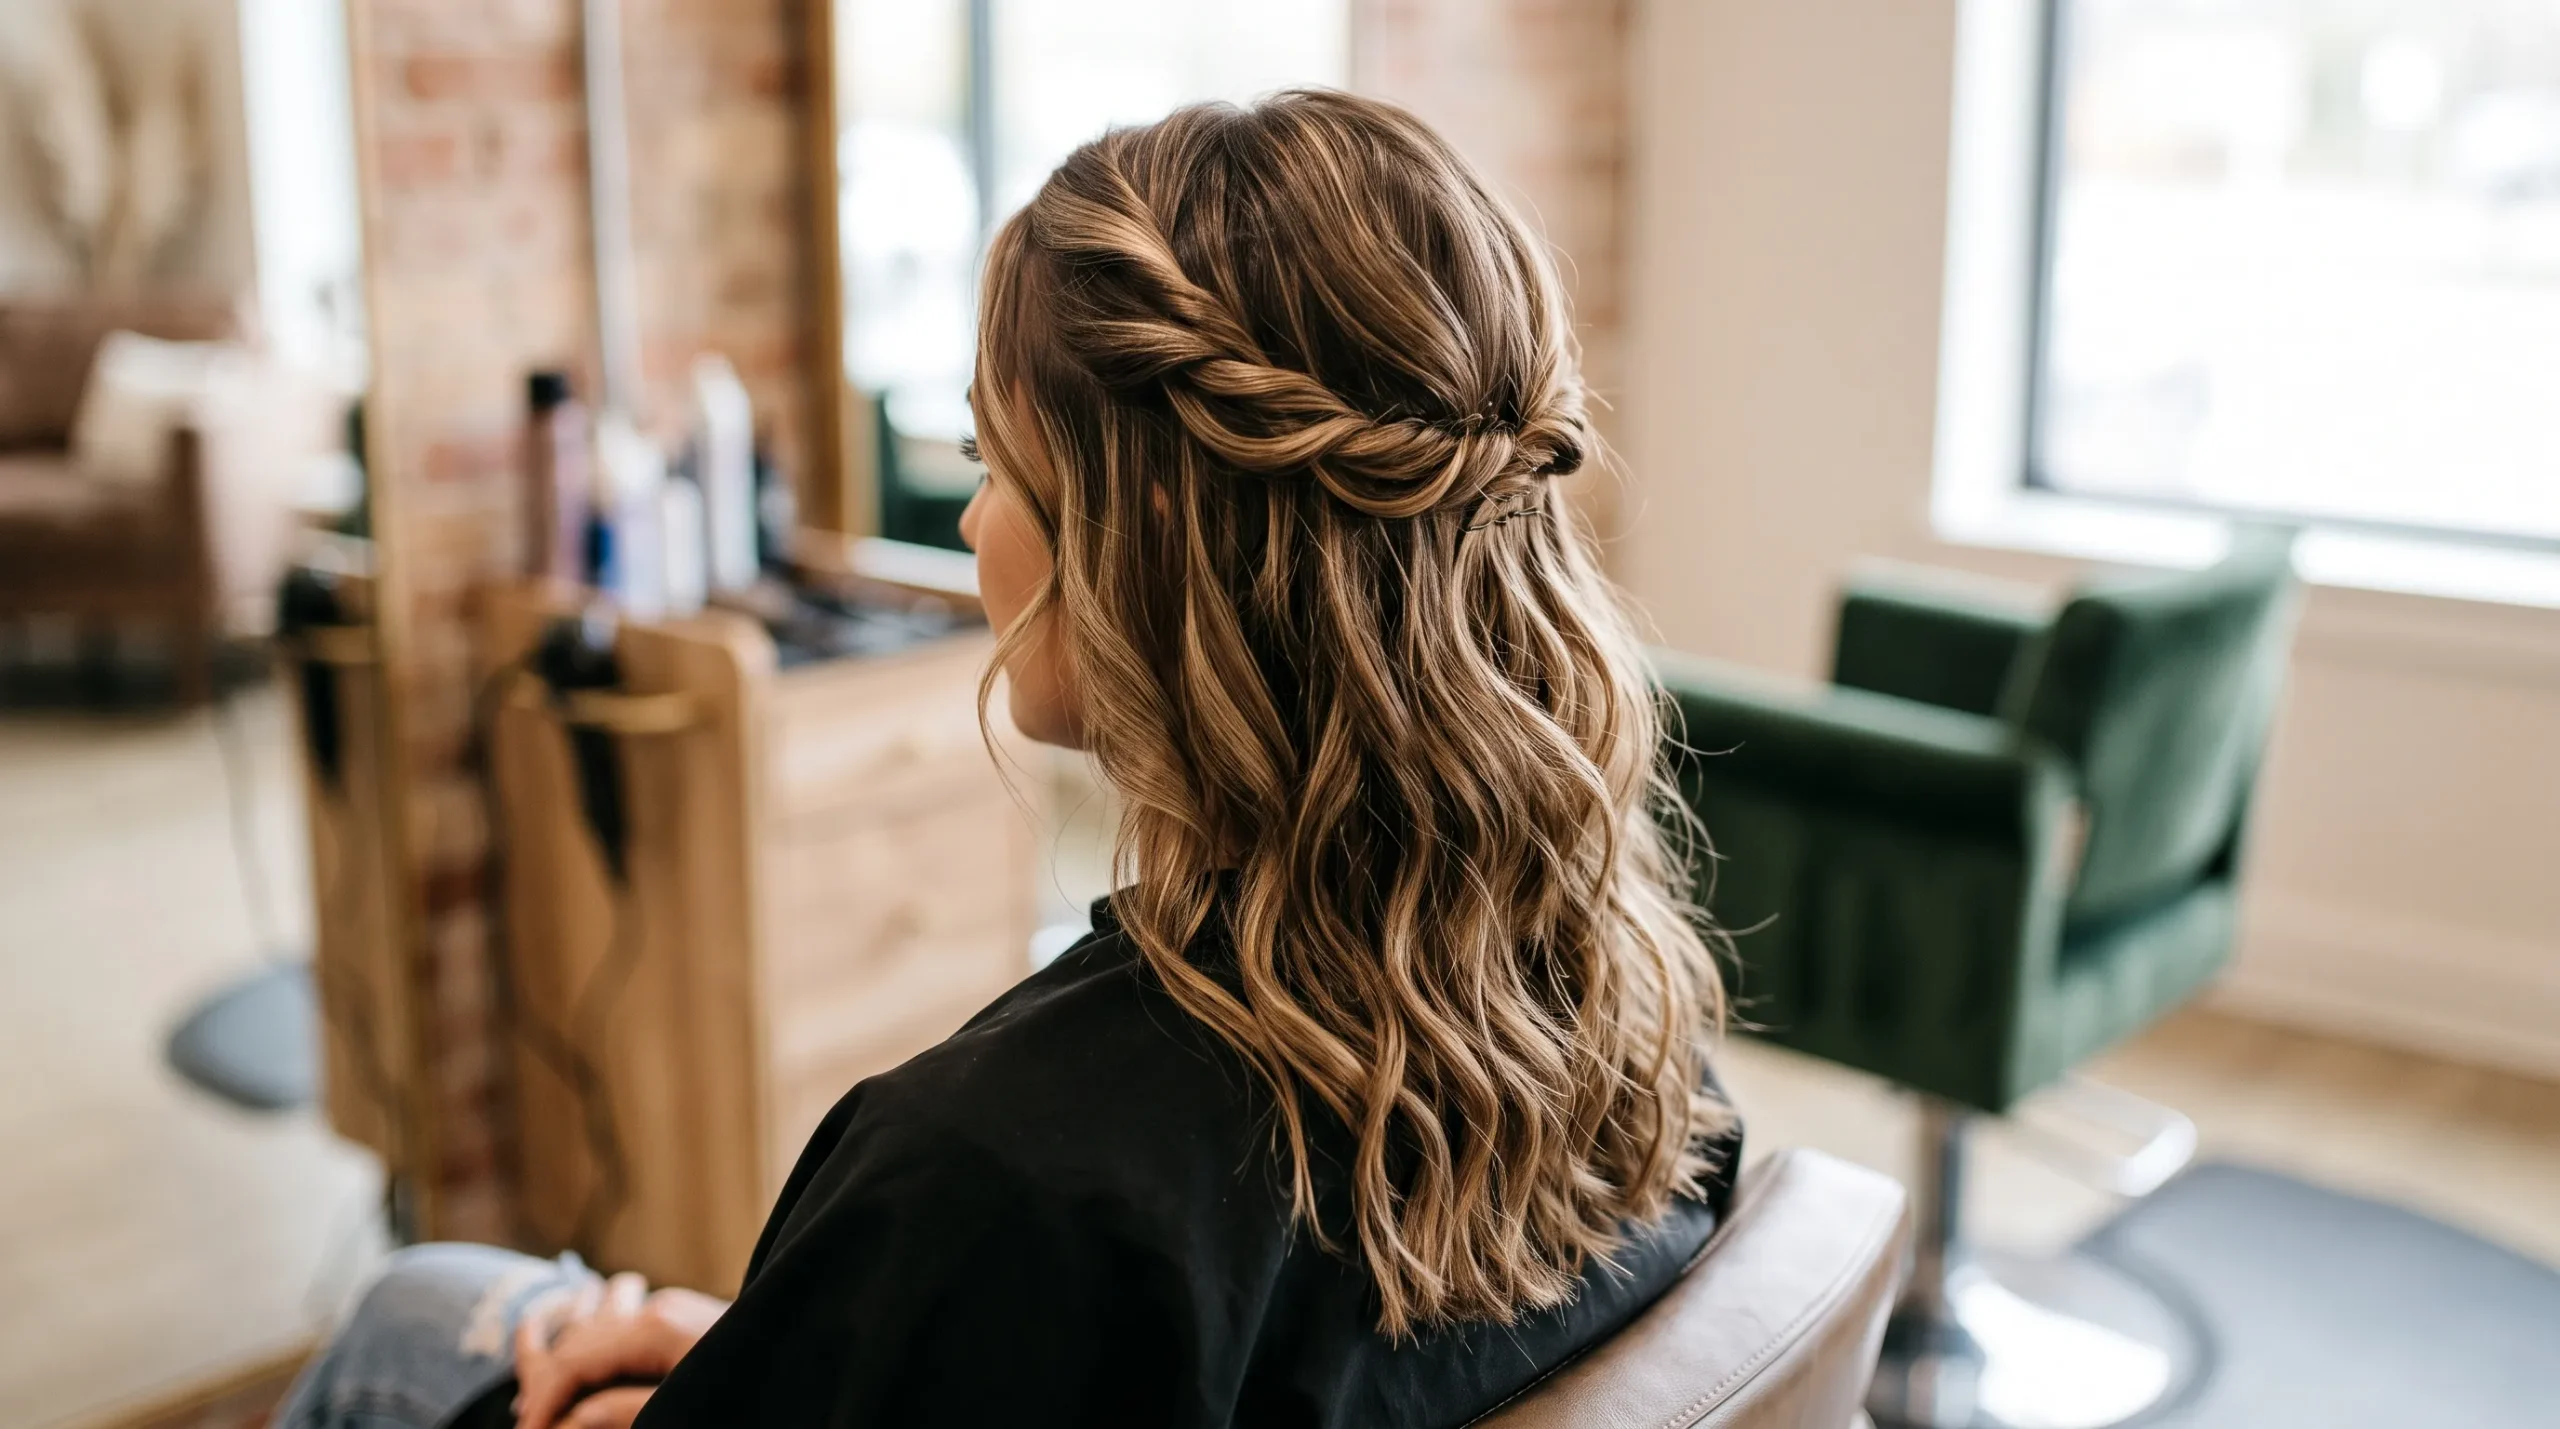
If there’s one style I keep coming back to in the chair, it’s a twist back crown waves hairstyle. I love it because it does so much with so little effort — it clears the hair off the face, adds shape at the crown, and still leaves you with soft, touchable waves falling through the rest of the hair. It never looks stiff or overworked, which is exactly what most of my clients ask for. They want to look pulled together, not like they spent two hours in front of a mirror.
Below, I’m sharing ten versions of this style that I actually use in my own work, from breezy everyday looks to something I’d style for a bride. Most of these suit medium to long hair best, though a few can be adapted for shorter lengths with smaller twists. They also tend to flatter oval, heart, and round face shapes especially well, since the twisted crown opens up the face instead of covering it. Before you start, I always recommend prepping strands with a heat protectant if you’re reaching for a curling iron or wand — a good one creates a lightweight barrier that helps lock in moisture and shields hair from excessive heat exposure, according to stylists interviewed by CNN Underscored, and I’ve found it makes a real difference in how the waves hold and how healthy the hair looks afterward.
My kit for this whole family of styles stays pretty simple: a curling wand or iron, a tail comb for clean sections, a handful of bobby pins in a shade close to the client’s hair color, and a light mousse or texture spray depending on how much grip I need. I rarely reach for anything heavier than a flexible-hold hairspray, because a stiff finish is the fastest way to make a twist back crown waves hairstyle look dated instead of soft. If you’re working on your own hair rather than a client’s, I’d suggest practicing the twist-and-pin motion on dry hair a couple of times before you try it with wet or freshly curled strands — it’s a small motion, but getting the tension right is what separates a twist that holds all day from one that slips out by lunch.
Twist Back Crown Waves Hairstyle Ideas I Style Again and Again
I’ve broken this list into ten looks, starting with the softest everyday options and moving toward the ones I save for special occasions. Try a few and see which twist placement and wave pattern feels most like you.
1. Soft Center-Part Twist Back Crown Waves
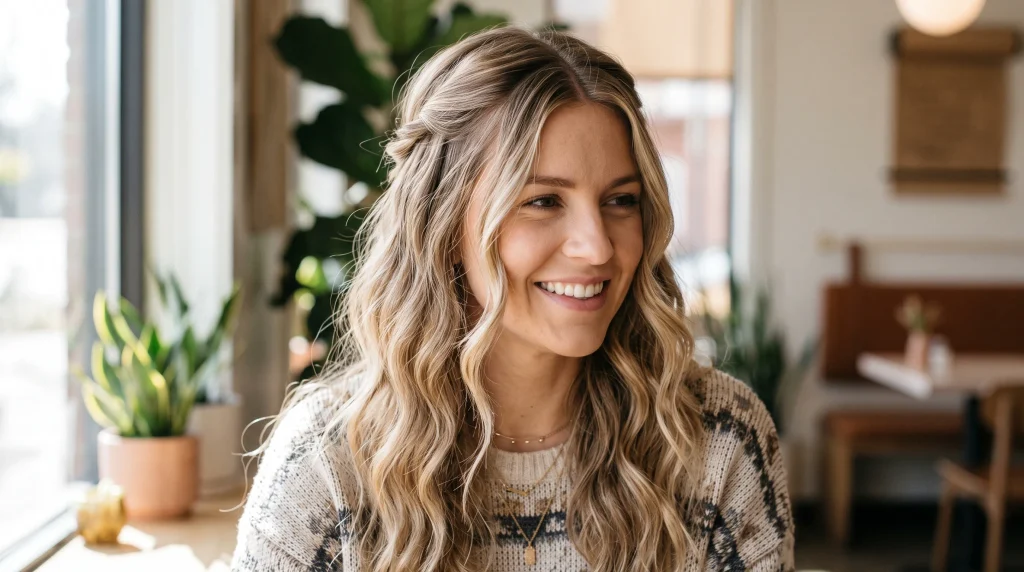
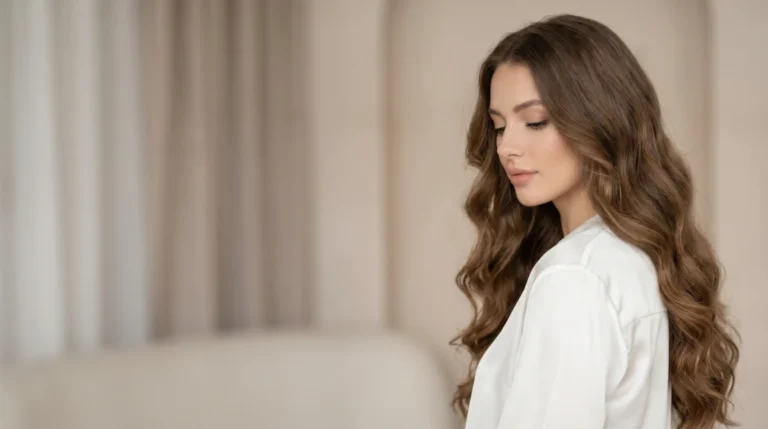
This is the version I reach for the most. A soft center part keeps everything balanced, and the twisted crown detail does most of the styling work on its own. I love how the loose waves keep the whole thing feeling relaxed rather than “done,” while the twists gently open the face and draw attention to the cheekbones. I’ll style this for a client heading to brunch, a family photo session, or even a regular workday when she wants a bit more shape than a plain blowout. My one rule here: keep the twists loose. Tight twists fight the softness of the waves, and this look is all about that easy, undone balance.
To create it, I start with a center part, then curl the mid-lengths and ends into loose waves. I take a small section from the front on each side, twist it backward, and pin both twists together at the crown. A quick rake through with my fingers softens any hard lines. It works beautifully on straight, wavy, or lightly curly hair, and it’s especially flattering on oval, heart, and round faces.
For more soft and textured inspiration, explore these wavy hair ideas.
2. Loose Side-Part Twist Back Crown Waves
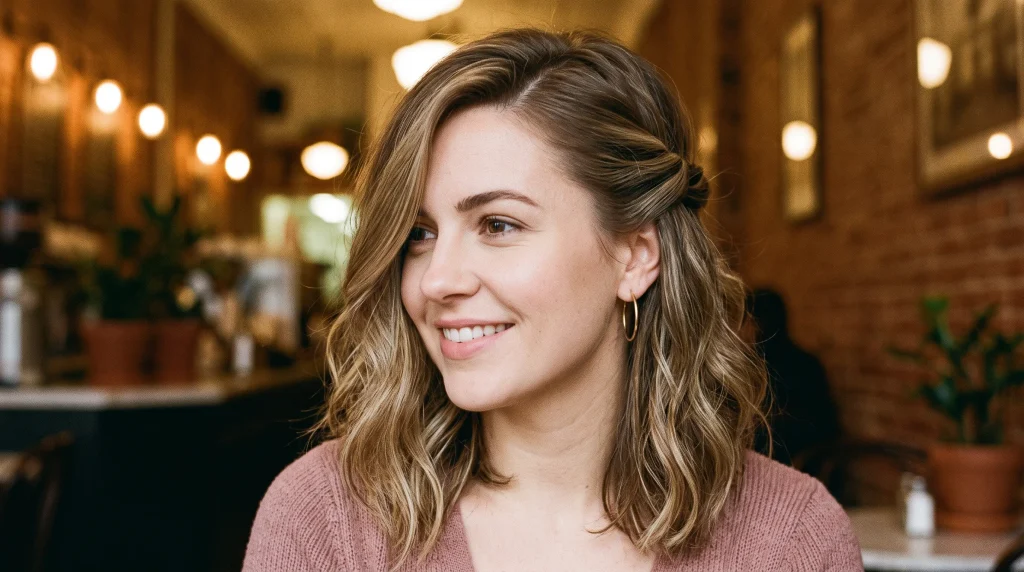
When a client wants something a little more romantic, I switch the part to the side. That small change adds lift at the front and shifts more shape onto one side of the face, which reads as softer and more dressed-up without any extra effort. I’ll usually recommend this for date nights, dinners, or birthday parties — anywhere you want your hair to look intentional but not fussy. Hair with a bit of natural bend takes to this style especially well.
I part deeply to one side, curl the lengths in loose sections, and twist the heavier side back first before matching the second side. I pin both at the crown with a slight overlap and mist lightly to hold the shape. A light tease at the crown before pinning gives it a boost that lasts through a long evening.
3. Romantic Volume Crown Twist Back Waves
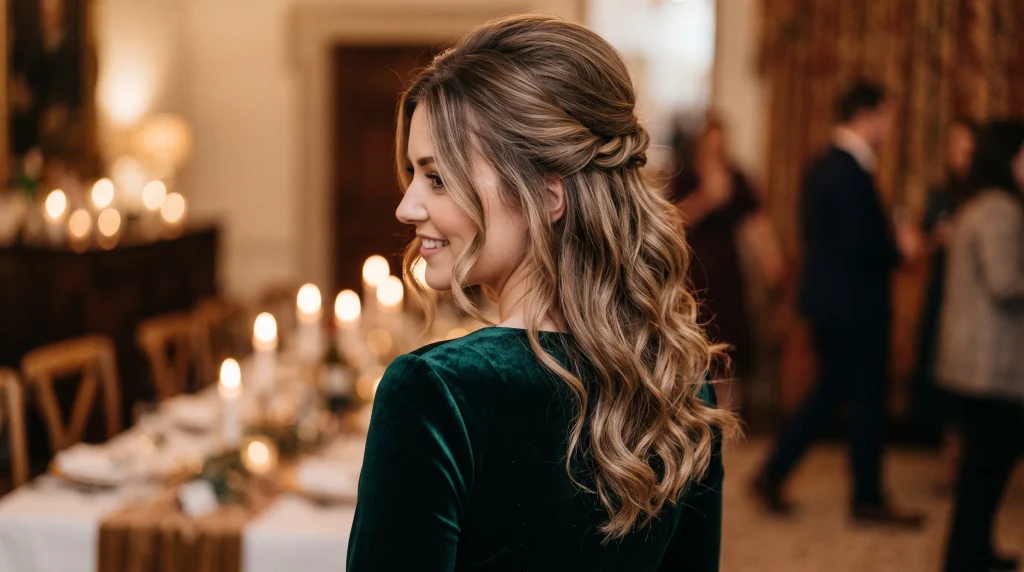
This is my go-to when a client wants her hair to feel a little more special without going full formal. I build extra volume at the crown first, then let soft waves do the rest. The lift at the top gives the whole look a graceful, feminine shape, and it photographs beautifully — I always suggest it for engagement parties or festive dinners where the hair needs a bit more presence. It’s also one of my favorite tricks for fine hair, since the lifted crown reads as noticeably fuller.
I prep the roots with a volumizing mousse, add loose waves through the lengths, and backcomb just the roots at the crown before smoothing the top layer over it. Then I twist both front sections back and pin them just above the volume, finishing with a flexible hairspray so it stays soft rather than stiff.
4. Boho Textured Twist Back Crown Waves
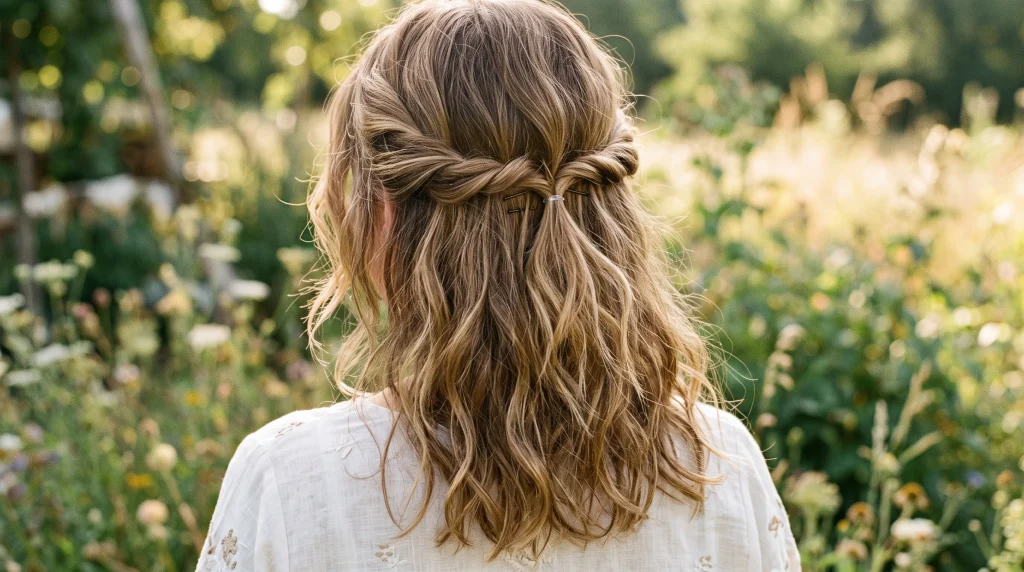
For clients who want something that feels undone in the best way, this is the one. The twists sit looser, the waves are less defined, and a few face-framing pieces are left free to move. I love this version for outdoor events, weekend plans, and anywhere warm-weather texture is welcome. Naturally wavy hair takes to this style with almost no effort.
I spray dry hair with a texture spray, add loose waves if the hair needs them, then twist relaxed front sections back and pin them low at the crown. Pulling a few soft pieces loose near the face keeps the whole thing feeling easy rather than styled to death.
5. Sleek Top Twist Back Crown Waves
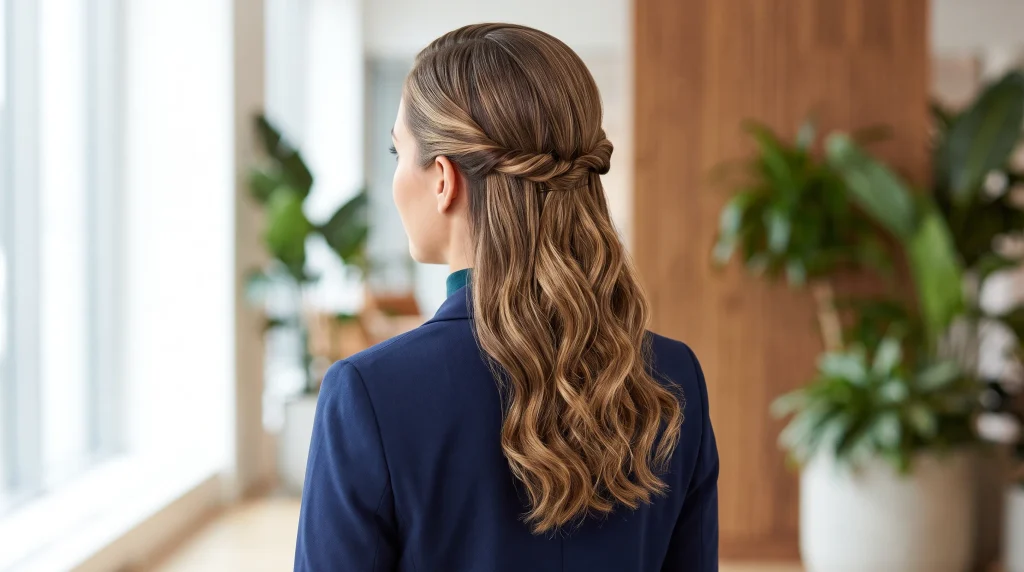
Sometimes a client wants more polish up top with movement underneath, and that’s where this version comes in. Keeping the crown smooth makes the twists themselves stand out more clearly, and the contrast between the tidy top and the flowing waves below feels modern and put together. I use this one often for office parties, dinners, and any daytime event where a client wants her hair to look controlled at the front but not severe.
I brush the crown completely smooth, curl the lower lengths into soft waves, then take slim sections from each temple and twist them back neatly, pinning at the center back. A touch of serum on the top layer only keeps it glossy without weighing it down.
6. Half-Up Twist Back Crown Waves
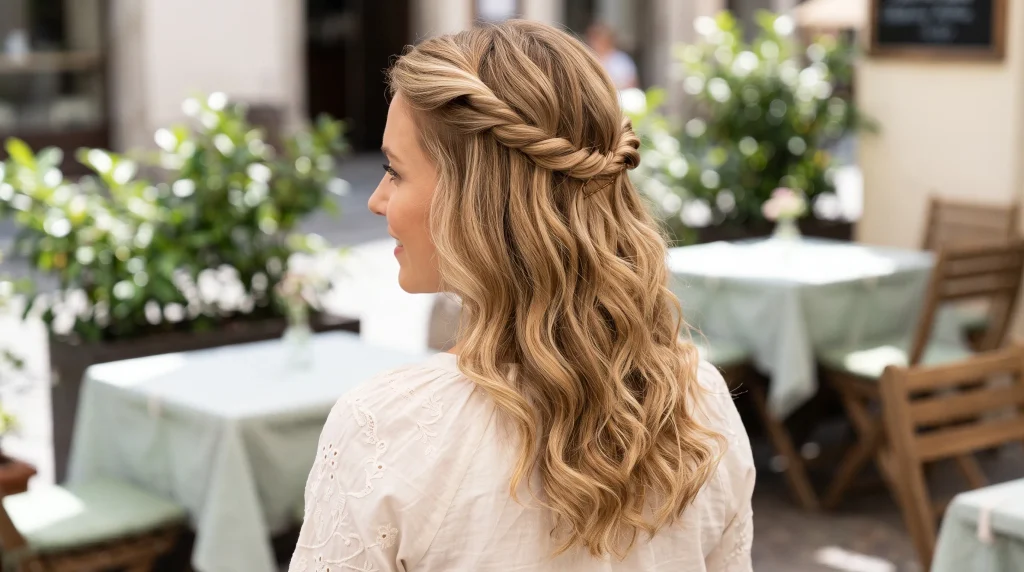
This half-up option genuinely gives you both worlds — the twisted crown lifts hair off the face while the rest stays down for movement and fullness. It’s one of the easiest ways to make plain waves feel intentional, and because more of the hair is secured, it holds up well through a long day. I recommend it constantly for lunch dates, baby showers, and busy days where a client still wants her hair down.
I curl everything into soft waves first, section off the upper half loosely, twist each front side toward the back, and join the twists into a half-up shape before pinning securely. Fluffing the waves with my fingers at the end gives it that last bit of softness.
7. Face-Framing Twist Back Crown Waves

I love this version for clients who want something gentle and youthful. A few soft pieces stay loose around the face while the rest twists back at the crown, which softens the forehead and cheek area in a way that flatters nearly every face shape. It’s a lovely everyday option, but I also use it for coffee dates and casual photos when a client wants a style that reads as effortless.
I part softly in the center or slightly off, curl the hair in loose sections, and leave a few slim pieces out at the front before twisting back the side sections and pinning at the crown. Curling those face-framing pieces away from the face keeps the whole look open rather than boxed in.
8. Pearl-Ready Twist Back Crown Waves
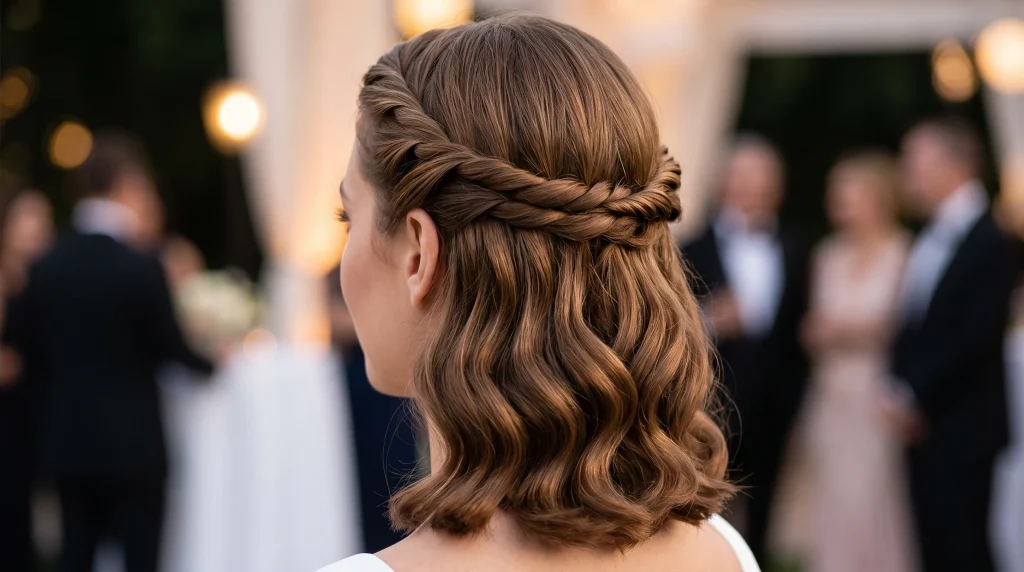
When a client has something formal on the calendar, I lean into this more polished version. The twists stay neat, the wave pattern is smoother and more even, and the overall effect feels graceful even without any accessories. I use it constantly for formal dinners, celebrations, and family events where the hair needs to look intentional from every angle.
I create soft, even curls throughout, brush them into uniform waves, and twist small side sections back neatly before pinning them at the crown with a clean overlap. Letting the curls cool completely before brushing is the step I never skip here — it’s what keeps the waves smooth instead of frizzy.
9. Soft Bridal Twist Back Crown Waves
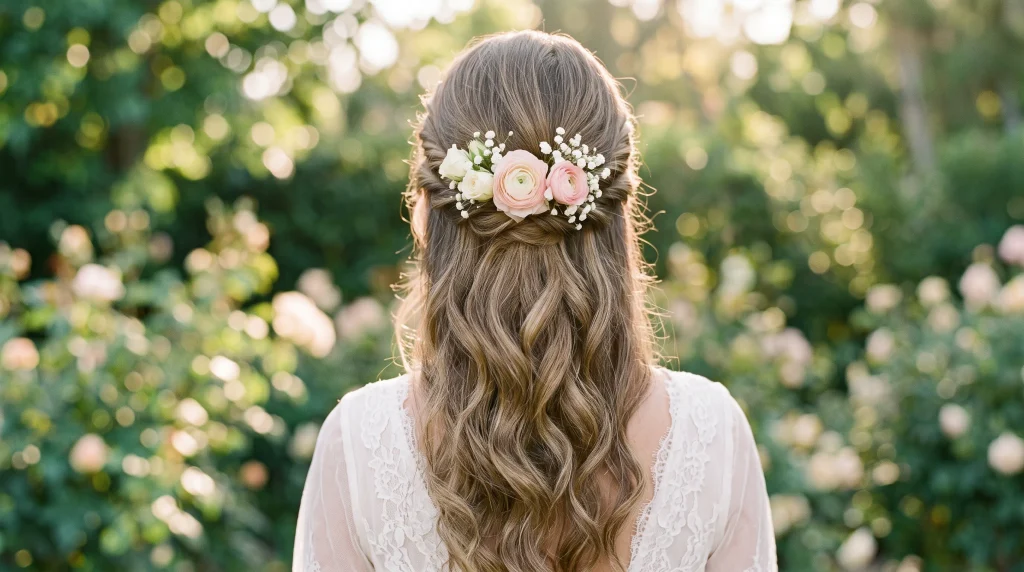
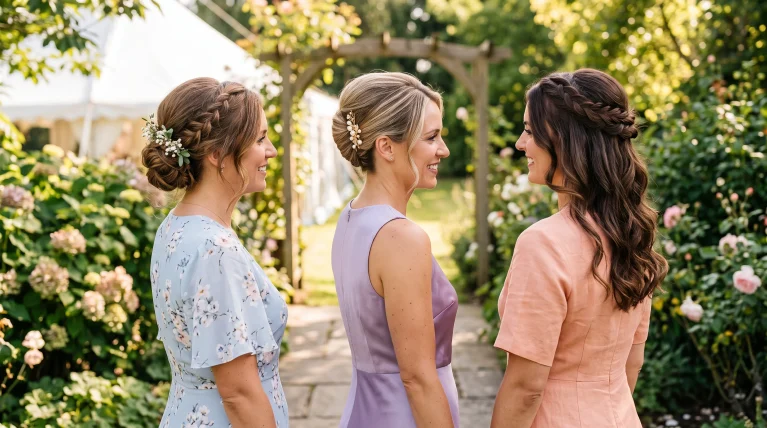
This is the version I style most often for brides, and I understand why — it’s timeless, romantic, and extremely photogenic. The twisted crown keeps everything secure through a long day of photos and dancing, while the soft waves add movement without heaviness. I’ll also use this for engagement shoots or any formal celebration where a classic look is called for. Pinning the twists in a crisscross pattern is my trick for keeping this style secure through hours of wear.
I prep the hair with a smoothing product, curl the lengths into soft, medium waves, twist both sides back gently, and pin securely at the crown before brushing through the waves just enough to soften them.
10. Everyday Airy Twist Back Crown Waves

This last one is the version I teach clients to do themselves at home, because it’s genuinely quick. The twists are relaxed, the waves are soft rather than sculpted, and the whole thing feels fresh without requiring much time. It’s perfect for workdays, errands, or any morning when you want a bit more shape without a full styling session.
I add quick loose waves to the mid-lengths and ends, take two front sections, twist them back, and pin them where they meet at the crown. Loosening the twists slightly with my fingertips and finishing with a light mist keeps it soft and wearable all day.
Final Thoughts
A twist back crown waves hairstyle is one of the most versatile looks I style, because it flexes so easily between casual and formal without changing the basic technique. Keep the twists loose and the waves soft for daytime, or tighten the twists and smooth the waves when you want something dressier. Whichever version you try, I’d start with light waves, keep your pins minimal, and let the crown twist do the heavy lifting.
What I like best about teaching this style to clients is how forgiving it is. If your first attempt at the twist feels a little uneven, you can usually fix it by pulling a section looser or repositioning a single pin rather than starting over completely. And because the waves are doing most of the visual work, small imperfections in the twist tend to disappear once everything is pinned and settled. Give yourself a few tries with whichever version speaks to you most, and don’t be afraid to adjust the part, the tightness of the twist, or the size of the wave until it feels like your own.
FAQs
Is a twist back crown waves hairstyle good for thin hair?
Yes. I usually add a little texture spray or mousse first, then gently loosen the twists once they’re pinned so the crown reads fuller rather than flat.
Can I do this hairstyle without heat?
Absolutely. I’ve styled this on natural waves and overnight heatless curls plenty of times. The twists still add shape and keep the front sections off the face even without a curling iron.
How do I make the twists hold longer?
I always reach for bobby pins that match the hair color and cross them for a stronger grip. A light texture spray before twisting also helps prevent slipping through the day.
Does this style work better on medium or long hair?
Both work, but I find medium to long hair shows off the twist detail and wave pattern most clearly. Shorter hair can still wear this style with smaller twists and softer ends.
Which face shapes suit this style best?
In my experience, oval, heart, and round face shapes suit it beautifully. The twisted crown opens up the face, and the waves help balance out the rest of the features.