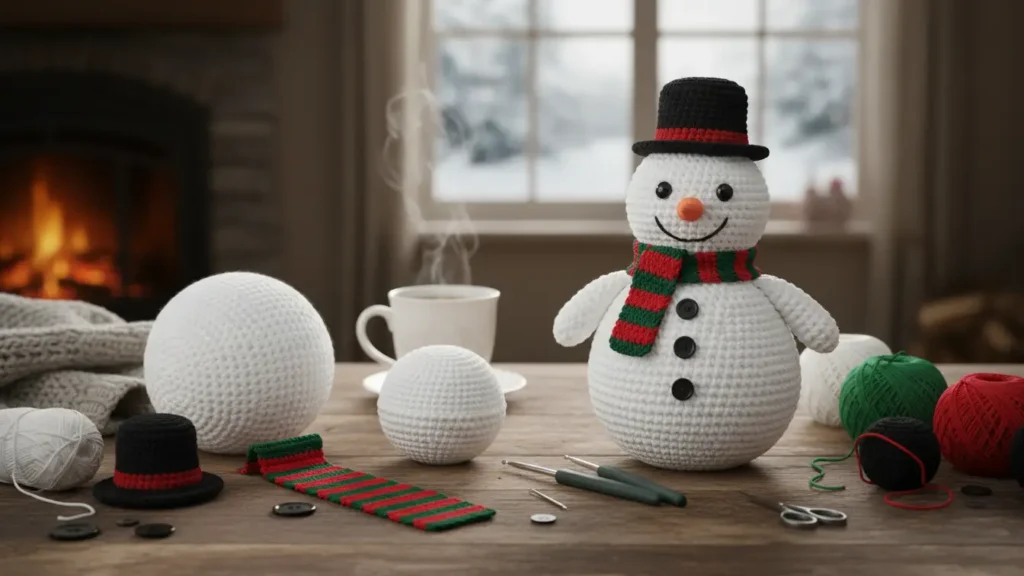
Crochet Amigurumi Snowman Beginner Tutorial: The Ultimate Step-by-Step Guide
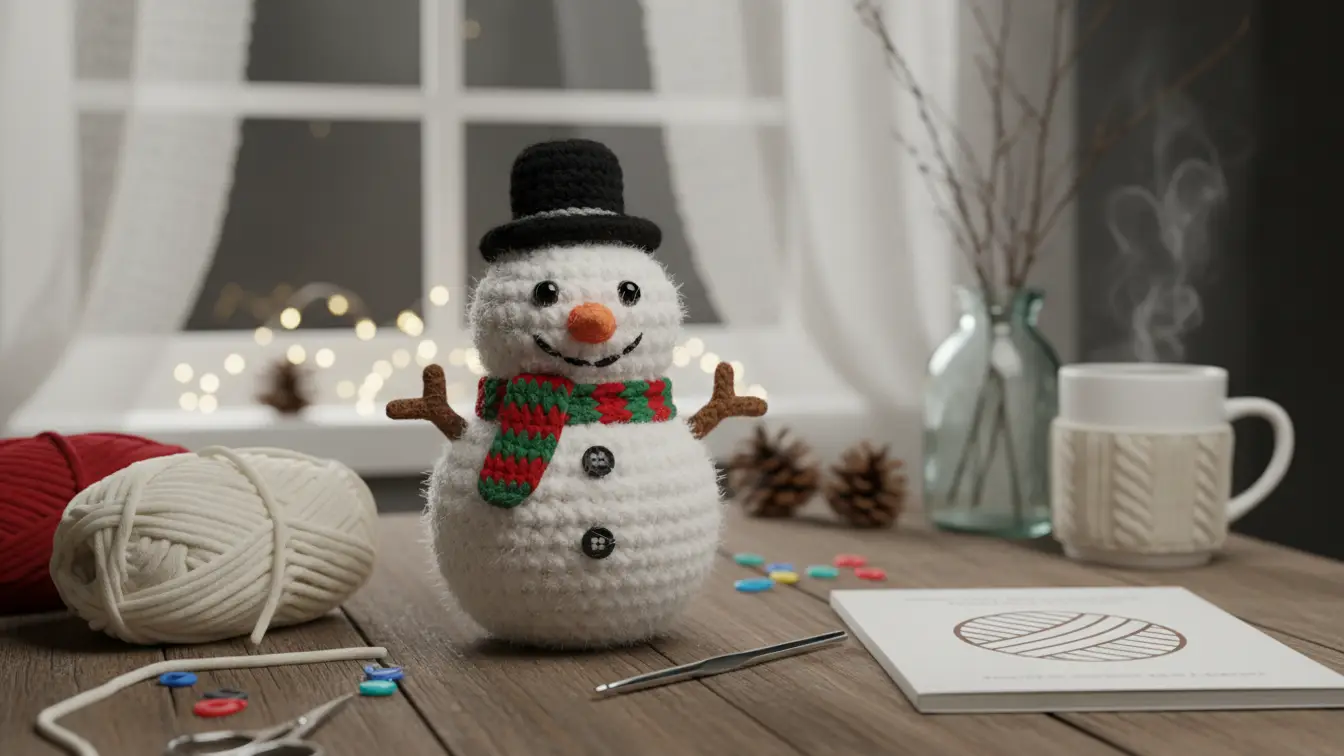
You know that feeling when you walk past a craft store and see those adorable crochet amigurumi snowman plushies staring back at you? I used to think they were impossible to make. But here’s the truth—making your own snowman amigurumi is way easier than you’d imagine, especially when you’ve got a solid beginner tutorial to guide you.
In this guide, I’ll walk you through everything you need to know about creating your very first crochet snowman. We’ll cover the basics, troubleshoot common problems, and I’ll share some tricks I’ve picked up along the way that’ll make your life so much easier.
If winter days feel a little heavy, these ways to beat the winter blues can make your cozy crafting time even better.
What Exactly Is Amigurumi Anyway?
Before we jump into the crochet amigurumi snowman beginner tutorial, let’s talk about what amigurumi actually means. It’s a Japanese term that combines “ami” (which means knitted or crocheted) and “nuigurumi” (stuffed doll). So basically, you’re making crocheted stuffed toys.
Now here’s where it gets interesting—amigurumi patterns have taken the crafting world by storm. These aren’t your grandmother’s doilies. They’re squishy, personality-packed little characters that bring joy wherever they go.
What I love about this craft is how forgiving it is for beginners. Sure, you might mess up a few stitches here and there, but honestly? That just adds character to your snowman plushie.
Why Make a Crochet Snowman?
You might be wondering why a snowman specifically. In my experience, snowman amigurumi patterns are perfect for beginners because:
- They don’t require complex shaping like other animals
- White yarn hides imperfections beautifully
- The simple design means less stress about getting details perfect
- They’re seasonal decorations that work from November through February
- Kids absolutely adore them as gifts
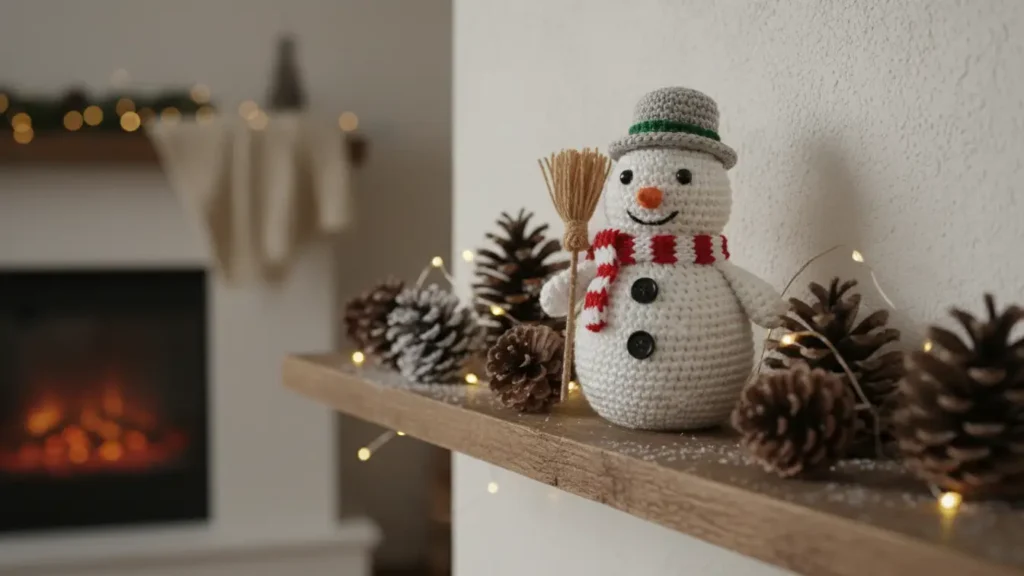
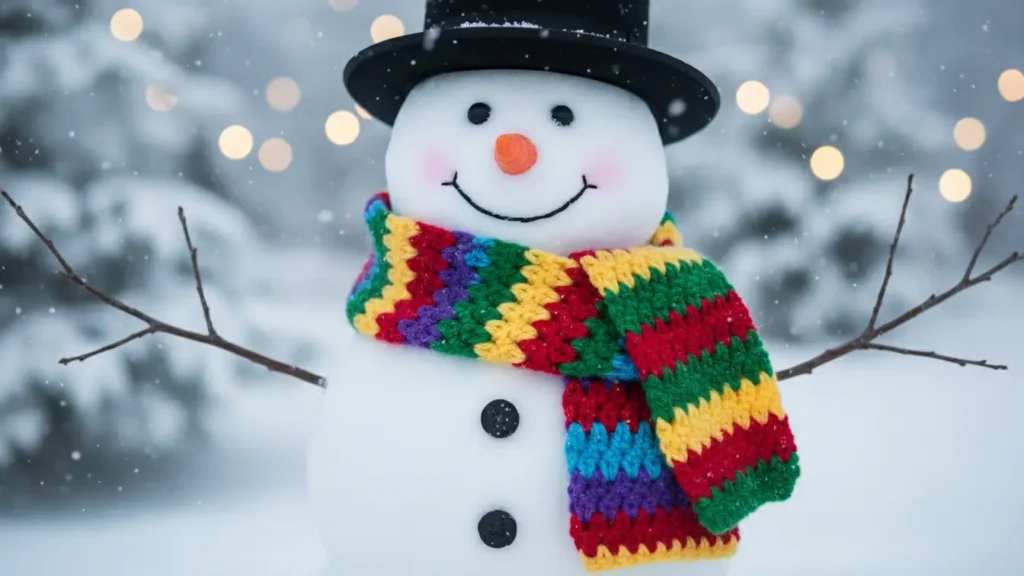
Plus, there’s something magical about creating your own winter décor. Unlike store-bought decorations, your handmade crochet snowman will have its own personality and charm.
And if you love that warm winter vibe at home, check these outdoor fireplace and firepit design ideas for extra cozy seasonal inspiration.
Essential Materials for Your Snowman Amigurumi
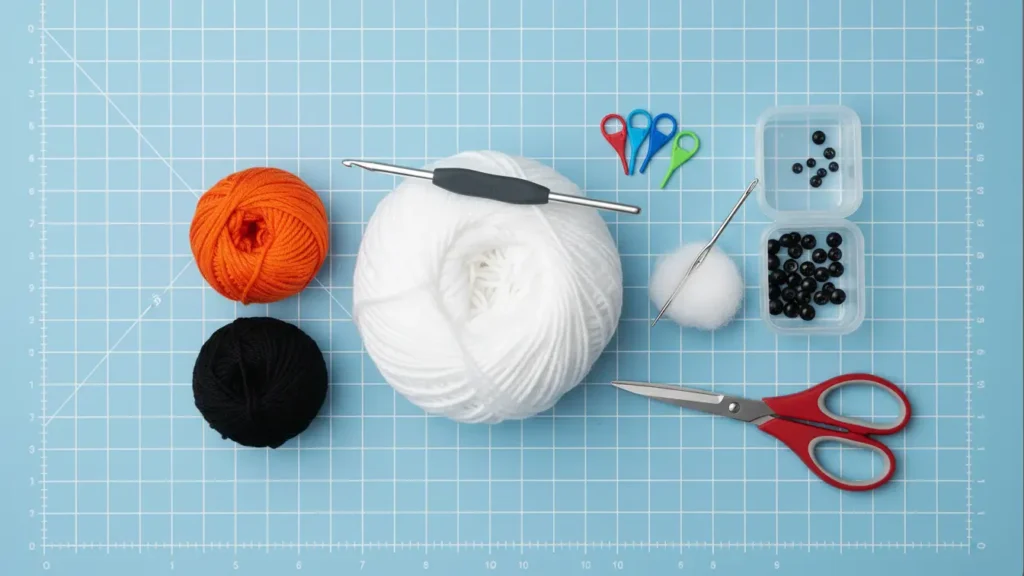
Let me tell you about the supplies you’ll need. Don’t worry—you won’t need to empty your wallet for this project.
Yarn Selection
For a beginner-friendly amigurumi, I recommend starting with worsted weight yarn (also called medium weight or size 4). Here’s what works best:
White or off-white yarn for the body and head (you’ll need about 100-150 yards)
- Acrylic yarn is budget-friendly and easy to work with
- Cotton yarn gives a more refined look but can be less forgiving
- I personally love using brands like Red Heart or Lion Brand for practice projects
Accent colors for accessories:
- Orange yarn for the carrot nose (just a few yards)
- Black yarn for coal buttons and facial features
- Any color you like for the scarf and hat
Hook and Tools
Your crochet hook size matters more than you might think. For worsted weight yarn, grab a 3.5mm to 4mm hook. The general rule? Your stitches should be tight enough that stuffing won’t peek through the gaps.
You’ll also need:
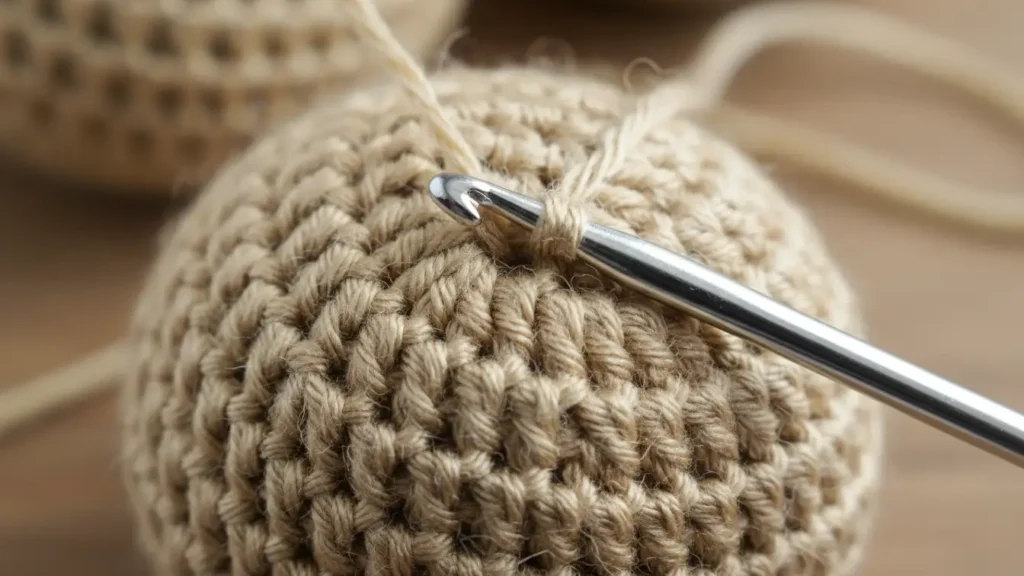
- A yarn needle (also called a tapestry needle) for sewing pieces together
- Sharp scissors
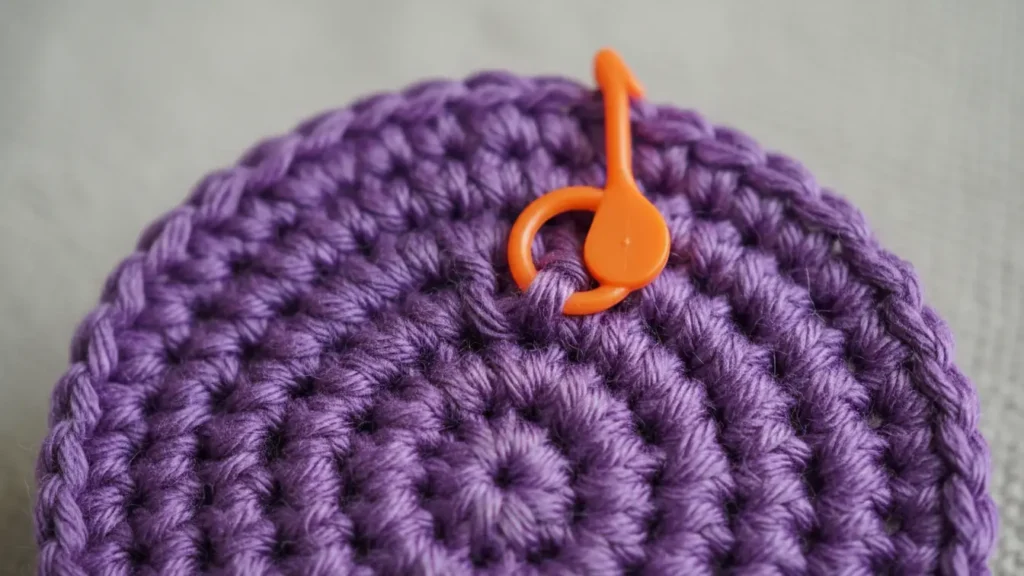
- Stitch markers to keep track of your rounds
- Polyester stuffing (about one bag should do it)
- Safety eyes (optional but they make the face super easy)
| Material | Recommended Size | Purpose | Where to Buy |
|---|---|---|---|
| White Yarn | Worsted Weight (150 yards) | Snowman body and head | Craft stores, online retailers |
| Crochet Hook | 3.5mm – 4mm | Creating tight stitches | Any craft store |
| Safety Eyes | 8-10mm | Snowman’s eyes | Amazon, craft stores |
| Polyester Stuffing | 1 bag | Filling the plushie | Walmart, craft stores |
| Yarn Needle | Large eye | Sewing pieces together | Included in most crochet tool sets |
Basic Crochet Stitches You Need to Know
If you’re completely new to crochet, don’t panic. This beginner tutorial only requires a handful of stitches. Let me break them down for you.
The Magic Ring (Magic Circle)
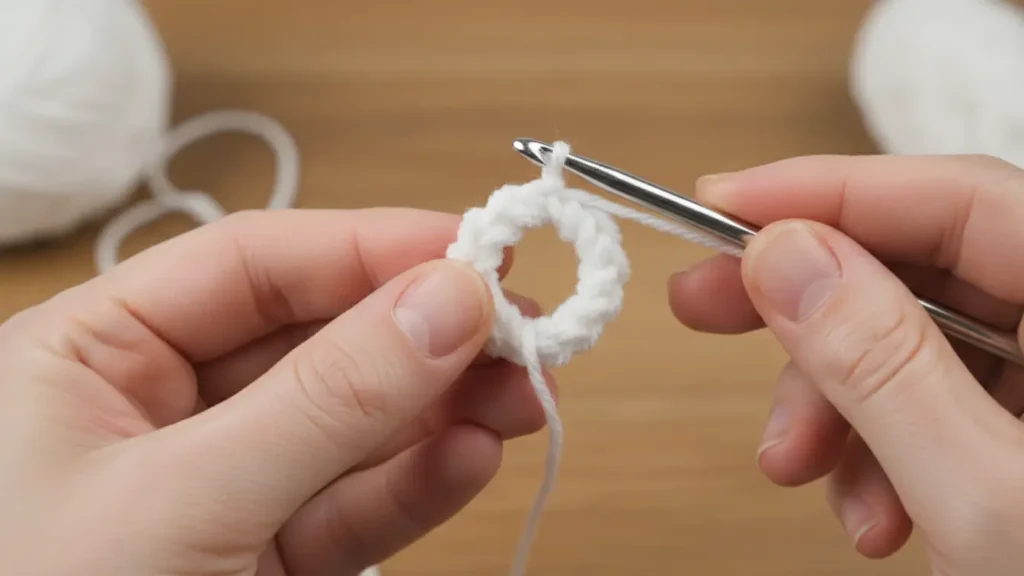
This is how you’ll start both the body and head. It creates a tight center with no hole in the middle. Trust me, once you master this, you’ll use it for every amigurumi project.
Here’s the simple version: wrap the yarn around your fingers twice, insert your hook under the first loop, grab the working yarn, and pull through. Then chain one and start making single crochet stitches into the ring. When you’re done with the first round, pull the tail to tighten the center.
Single Crochet (SC)
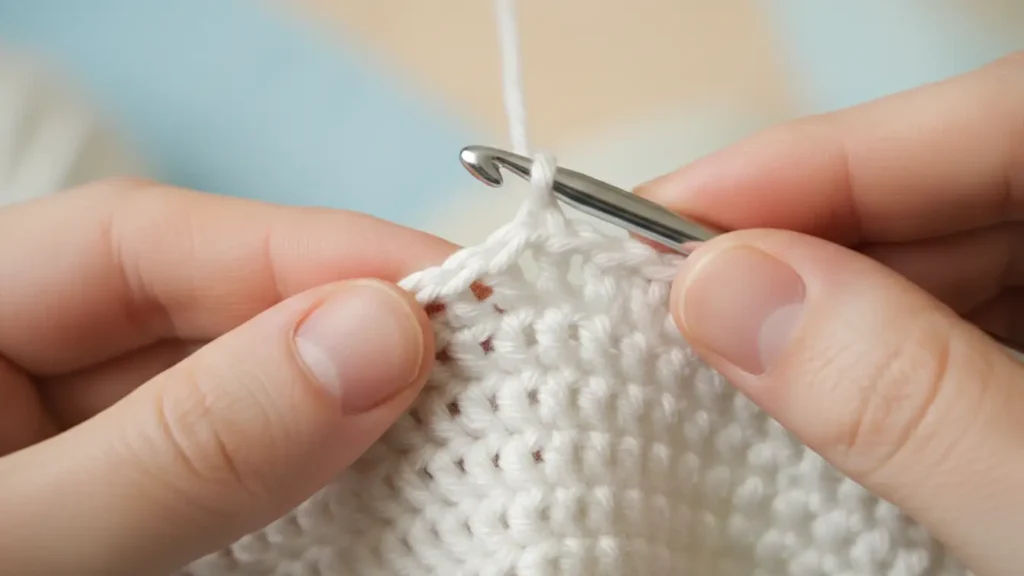
This is your bread and butter stitch. Insert your hook into the stitch, yarn over, pull through (you’ll have two loops on your hook), yarn over again, and pull through both loops. That’s it.
The key to good amigurumi fabric is keeping your stitches consistent and tight. You don’t want to see stuffing peeking through later.
Increase (INC)
An increase is just two single crochet stitches in the same stitch. This makes your work grow wider. You’ll use increases to shape the snowman’s round body and head.
Invisible Decrease (DEC)
This is the magic trick that makes your amigurumi look professional. Instead of a regular decrease, you’re working through the front loops only. Insert your hook into the front loop of one stitch, then the front loop of the next stitch, yarn over, pull through (three loops on hook), yarn over, pull through all three.
It sounds complicated but becomes automatic after a few tries.
Step-by-Step Crochet Snowman Pattern
Alright, let’s get into the actual crochet pattern. I’ll walk you through each section, and I promise to keep it simple and straightforward.
Making the Snowman’s Body
The body is the largest part of your amigurumi snowman. We’re going to create a sphere that’s slightly wider at the bottom. Think of it like a bowling ball, but softer and way cuter.
Round 1: Make a magic ring, chain 1, work 6 single crochet stitches into the ring. Pull tight. (6 stitches)
Round 2: Increase in each stitch around. (12 stitches)
Round 3: Single crochet in next stitch, increase in next stitch, repeat around. (18 stitches)
Round 4: Single crochet in next 2 stitches, increase in next stitch, repeat around. (24 stitches)
Round 5: Single crochet in next 3 stitches, increase in next stitch, repeat around. (30 stitches)
Round 6: Single crochet in next 4 stitches, increase in next stitch, repeat around. (36 stitches)
Rounds 7-14: Single crochet in each stitch around. (36 stitches for 8 rounds)
This creates the sides of your sphere. You’re working in a continuous spiral, so use that stitch marker to mark the beginning of each round.
Round 15: Single crochet in next 4 stitches, decrease, repeat around. (30 stitches)
Round 16: Single crochet in next 3 stitches, decrease, repeat around. (24 stitches)
Now here’s where it gets important—start stuffing the body. Don’t wait until you’ve closed it completely. I learned this the hard way when I tried to stuff through a tiny hole and ended up with a lumpy mess.
Round 17: Single crochet in next 2 stitches, decrease, repeat around. (18 stitches)
Keep adding stuffing as you go. You want it firm but not rock-hard. Think of a stress ball.
Round 18: Single crochet in next stitch, decrease, repeat around. (12 stitches)
Round 19: Decrease around. (6 stitches)
Fasten off, leaving a long tail. Thread it through the remaining stitches and pull tight to close the hole. Weave in the end.
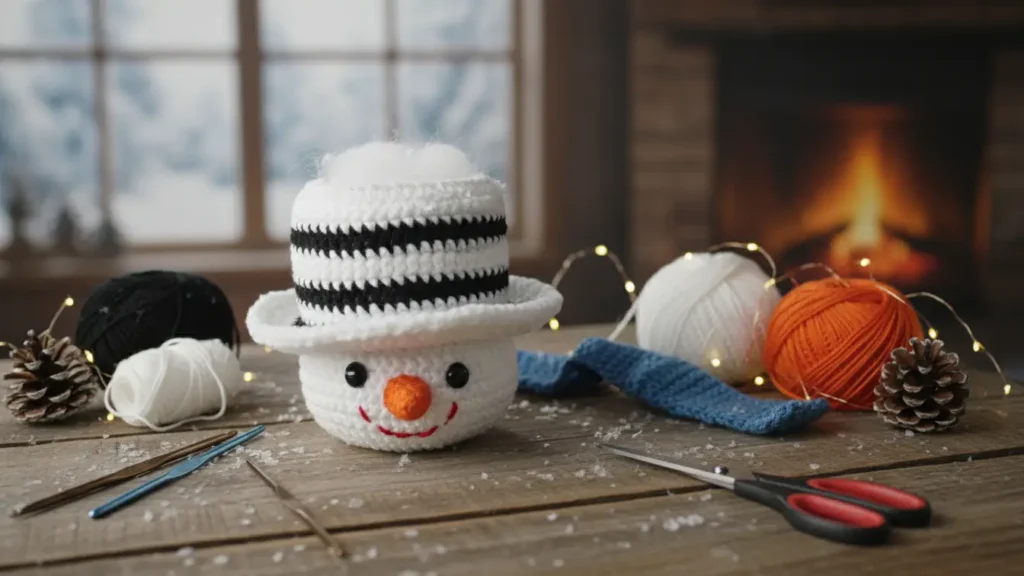
Creating the Snowman’s Head
The head follows the same basic construction but stays smaller. This is what makes it recognizable as a snowman—that classic two-sphere shape.
Round 1: Make a magic ring, work 6 single crochet into the ring. (6 stitches)
Round 2: Increase in each stitch around. (12 stitches)
Round 3: Single crochet, increase, repeat around. (18 stitches)
Round 4: Single crochet in next 2 stitches, increase, repeat around. (24 stitches)
Round 5: Single crochet in next 3 stitches, increase, repeat around. (30 stitches)
Rounds 6-10: Single crochet in each stitch around. (30 stitches for 5 rounds)
If you’re using safety eyes, now’s the time to insert them. Position them between rounds 7 and 8, about 7 stitches apart. Once they’re in, they’re permanent, so take a moment to make sure you’re happy with the placement.
Round 11: Single crochet in next 3 stitches, decrease, repeat around. (24 stitches)
Round 12: Single crochet in next 2 stitches, decrease, repeat around. (18 stitches)
Start stuffing the head now. You’ll want it nice and firm since it’ll be supporting the weight of any hat or accessories you add later.
Round 13: Single crochet, decrease, repeat around. (12 stitches)
Round 14: Decrease around. (6 stitches)
Fasten off with a long tail for sewing. Don’t close the bottom yet—you’ll sew it directly onto the body.
Attaching the Head to the Body
This part makes some beginners nervous, but it’s actually pretty straightforward. Position the head on top of the body. It can be straight or slightly tilted—honestly, a little tilt gives your snowman plushie more personality.
Thread your yarn needle with the long tail from the head. Sew around the entire circumference where the head meets the body. Go around twice to make sure it’s secure. Nobody wants a wobbly-headed snowman.
Adding the Facial Features
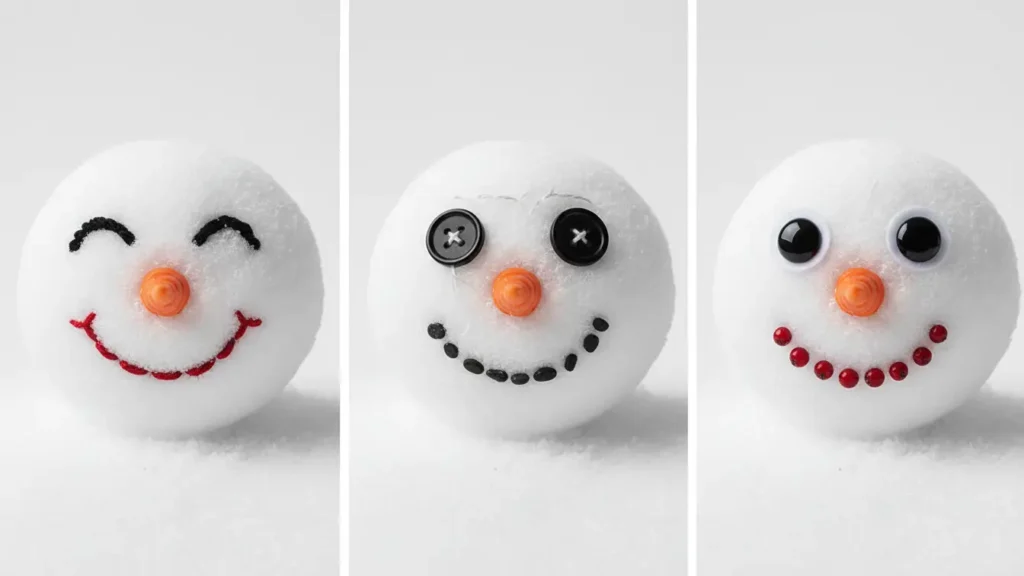
Now comes the fun part where your amigurumi snowman gets its personality. There are several ways to approach the face, and you can’t really mess this up.
The Eyes
If you didn’t use safety eyes earlier, you’ve got options:
Option 1: Embroider them with black yarn. Make two small circles or simple X shapes.
Option 2: Sew on small black buttons. This gives that classic coal look.
Option 3: Crochet tiny circles. Make a magic ring with black yarn, work 6 single crochet, slip stitch to join, and fasten off. Sew these onto the face.
I personally prefer the embroidered look because it gives you total control over the expression.
The Carrot Nose
The nose is probably the most iconic feature of any crochet snowman. Here’s a super simple method:
With orange yarn, make a magic ring. Work 4 single crochet into the ring. Pull tight and fasten off, leaving a long tail. The magic ring forms a cone shape naturally. Sew it onto the face between and slightly below the eyes.
Want a longer nose? Add one more round of single crochet before fastening off.
The Smile
For the mouth, use black yarn or embroidery floss to stitch a simple curved line. The classic snowman has a cheerful smile with 5-7 small stitches arranged in an arc.
Some crafters like to add rosy cheeks with pink yarn or even actual blush makeup. It’s totally optional but adds a sweet touch.
Optional: Arms and Legs
Here’s where you get to customize your beginner amigurumi snowman. The classic look has no appendages, but adding simple arms gives him more character.
Simple Twig Arms
Round 1: Make a magic ring, work 4 single crochet. (4 stitches)
Rounds 2-8: Single crochet around. (4 stitches for 7 rounds)
Fasten off, leaving a tail for sewing. You don’t need to stuff these—they’ll look like little twigs. Make two and sew them onto the sides of the body.
Stubby Legs (Optional)
Legs follow the same pattern as arms but should be slightly shorter and positioned at the bottom so your snowman can “sit.”
Honestly, though? Most of my snowman amigurumi don’t have legs. The classic round-bottom look is timeless and easier to display.
Making the Scarf
A scarf is the easiest accessory and adds so much visual interest to your crochet snowman.
Simple Strip Method
Chain 60 (or however long you want the scarf).
Row 1: Single crochet in the second chain from hook and in each chain across. (59 stitches)
Fasten off and weave in ends.
That’s it. Seriously. Wrap it around the neck and either sew it in place or let it dangle naturally.
Fringed Scarf (Fancier Option)
Follow the same pattern above, but before fastening off, add fringe to the ends. Cut several 6-inch pieces of yarn, fold them in half, and pull through the edge stitches with your hook. It gives a more polished look.
You can also add stripes by changing colors every few rows. Red and white looks festive, while blue and white gives it a Frozen vibe.
Crocheting the Hat
Every good snowman amigurumi needs a hat. There are tons of hat styles you can make, but I’ll share my go-to simple version.
Classic Top Hat
Round 1: Make a magic ring, work 6 single crochet. (6 stitches)
Round 2: Increase in each stitch. (12 stitches)
Round 3: Single crochet, increase, repeat around. (18 stitches)
Round 4: Working in the back loops only, single crochet around. (18 stitches)
This creates the brim of the hat. The back loop technique makes a ridge that looks like the hat sits on top of the head.
Rounds 5-9: Single crochet around. (18 stitches for 5 rounds)
Round 10: Single crochet in next stitch, decrease, repeat around. (12 stitches)
Round 11: Decrease around. (6 stitches)
Fasten off and close the top. Lightly stuff the hat (just a tiny bit) to help it hold its shape. Sew it onto the head.
Want to make it festive? Add a contrasting band around the base of the hat using a different color yarn.
Troubleshooting Common Beginner Problems
Let me share some issues I ran into when I started making amigurumi, along with how I fixed them.
Problem 1: Stuffing Shows Through
This happens when your stitches are too loose. The solution? Go down a hook size. If you’re using a 4mm hook, try a 3.5mm instead. Tighter stitches create a denser fabric that holds the stuffing inside where it belongs.
Problem 2: Losing Count of Stitches
Use that stitch marker! Move it to the first stitch of every new round. You can also count your stitches at the end of each round to make sure you’re on track. Trust me, it’s way easier to fix mistakes early than to unravel 10 rounds later.
Problem 3: Wonky Shape
If your snowman looks more like a potato than a sphere, it’s usually an issue with tension consistency. Try to keep your stitches the same tightness throughout. It gets easier with practice.
Problem 4: Head Won’t Stay Attached
Make sure you’re sewing around the entire circumference and going through both pieces of fabric. Don’t just sew a few spots—that won’t hold. I learned this when my first snowman’s head literally rolled off when I picked him up.
Advanced Techniques to Level Up
Once you’ve mastered the basic crochet amigurumi snowman beginner tutorial, you might want to try these more advanced touches:
Adding Wire Armature
If you want your snowman to hold a pose or have bendable arms, insert pipe cleaners or floral wire into the arms before stuffing. Wrap the wire in a bit of stuffing first so it doesn’t poke through.
Creating Texture
Instead of all single crochet, try mixing in some half double crochet stitches for texture. You could also use a fuzzy yarn for the scarf to add visual interest.
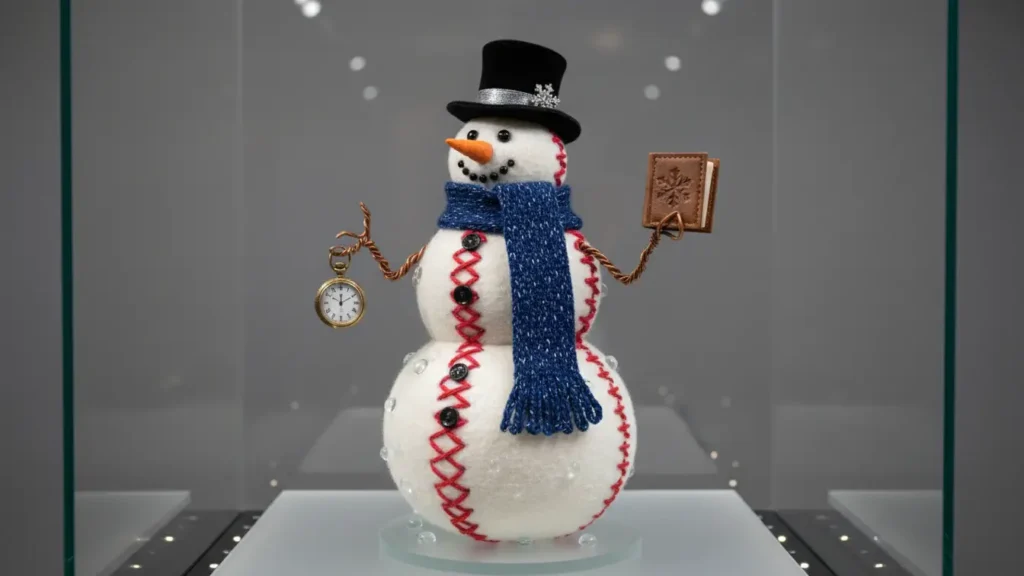
Embellishments
Think buttons down the front, a little crochet broom, or even a tiny bird friend. These little details take your snowman amigurumi from cute to absolutely adorable.
Sizing Variations for Different Projects
Your snowman crochet pattern can be adapted for different purposes just by changing your materials.
Mini Ornament Size
Use sport weight yarn (size 2) and a 2.5mm hook. Your finished snowman will be about 3-4 inches tall—perfect for hanging on the Christmas tree or using as a keychain.
Standard Plushie Size
Worsted weight yarn (size 4) with a 3.5-4mm hook gives you a snowman around 7-9 inches tall. This is ideal for shelf décor or as a stuffed toy.
Jumbo Display Size
Use chunky or super bulky yarn (size 6) with a 6-8mm hook to create a snowman that’s 15-20 inches tall. These make stunning winter decorations for your mantel or entryway.
Caring for Your Finished Snowman
After you’ve put all that work into your crochet amigurumi snowman, you’ll want it to last. Here are my care tips:
Washing: Spot clean with mild soap and water when needed. If you must fully wash it, hand wash gently and let it air dry completely.
Storage: Keep it in a cool, dry place away from direct sunlight, which can fade the yarn colors over time.
Display: If you’re displaying it outside (like on a covered porch), make sure it’s protected from the elements. Moisture can make the stuffing mildewy.
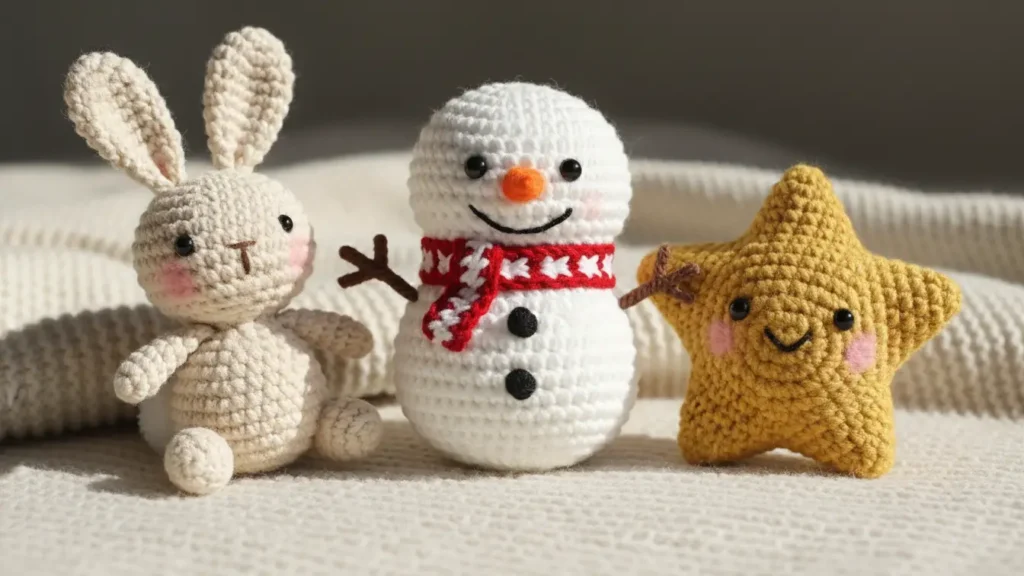
Creative Ways to Personalize Your Snowman
What I love most about this beginner tutorial is how adaptable it is. Here are some ideas I’ve tried or seen others do:
- Make a snowman family in different sizes
- Use rainbow colors for a whimsical modern look
- Add a crocheted wreath for him to hold
- Create different seasonal outfits (Santa hat for Christmas, bunny ears for Easter)
- Embroider your year on the body as a date marker
- Make matching snowmen for a wedding as cake toppers
Why This Pattern Works So Well for Beginners
I’ve taught this pattern to several friends who were new to crochet, and they all succeeded. Here’s why it’s so beginner-friendly:
Simple shapes: No complex curves or difficult shaping Forgiving yarn: White acrylic yarn hides a multitude of small mistakes Minimal sewing: Just the head and a few accessories Quick results: You can finish this in an evening or two Flexible design: Can’t get the face quite right? Just adjust it—snowmen are meant to be imperfect
Frequently Asked Questions
How long does it take to make? For a beginner, expect 4-6 hours spread over a few sessions. Once you get the hang of it, you can crank one out in 2-3 hours.
Do I need to know how to read patterns? Not really. I’ve explained everything in plain language. Just follow along step by step.
Can I use different yarn? Absolutely. Just adjust your hook size accordingly. The general rule is to use a hook size smaller than what the yarn label recommends for tighter amigurumi fabric.
Is this suitable for kids? If you’re making it for young children, skip the safety eyes and embroider the face instead. Otherwise, it’s perfectly safe and cuddly.
Final Thoughts
Making your first crochet amigurumi snowman is such a rewarding experience. Sure, it might not look exactly like the professional patterns you see online, but that’s what makes it special. It’s yours.
The best part about mastering this beginner tutorial? Once you’ve got the basic technique down, you can apply it to countless other amigurumi patterns. The skills you learn here translate to making bunnies, bears, unicorns—you name it.
So grab your yarn and hook, and let’s make something magical. Your first snowman is waiting to come to life, and I promise it’ll bring you so much joy that you’ll want to make a whole winter wonderland’s worth.
Styling your snowman on a shelf or nightstand looks even nicer with these small bedroom ideas that make your room feel bigger.
Don’t forget to share your finished snowman amigurumi with other crafters online. We all love seeing what beginners create, and trust me, the crochet community is incredibly supportive and encouraging.
Now go make that snowman. You’ve got this.