10 Breezy Braided Ponytail Hairstyle Ideas for Effortless Style
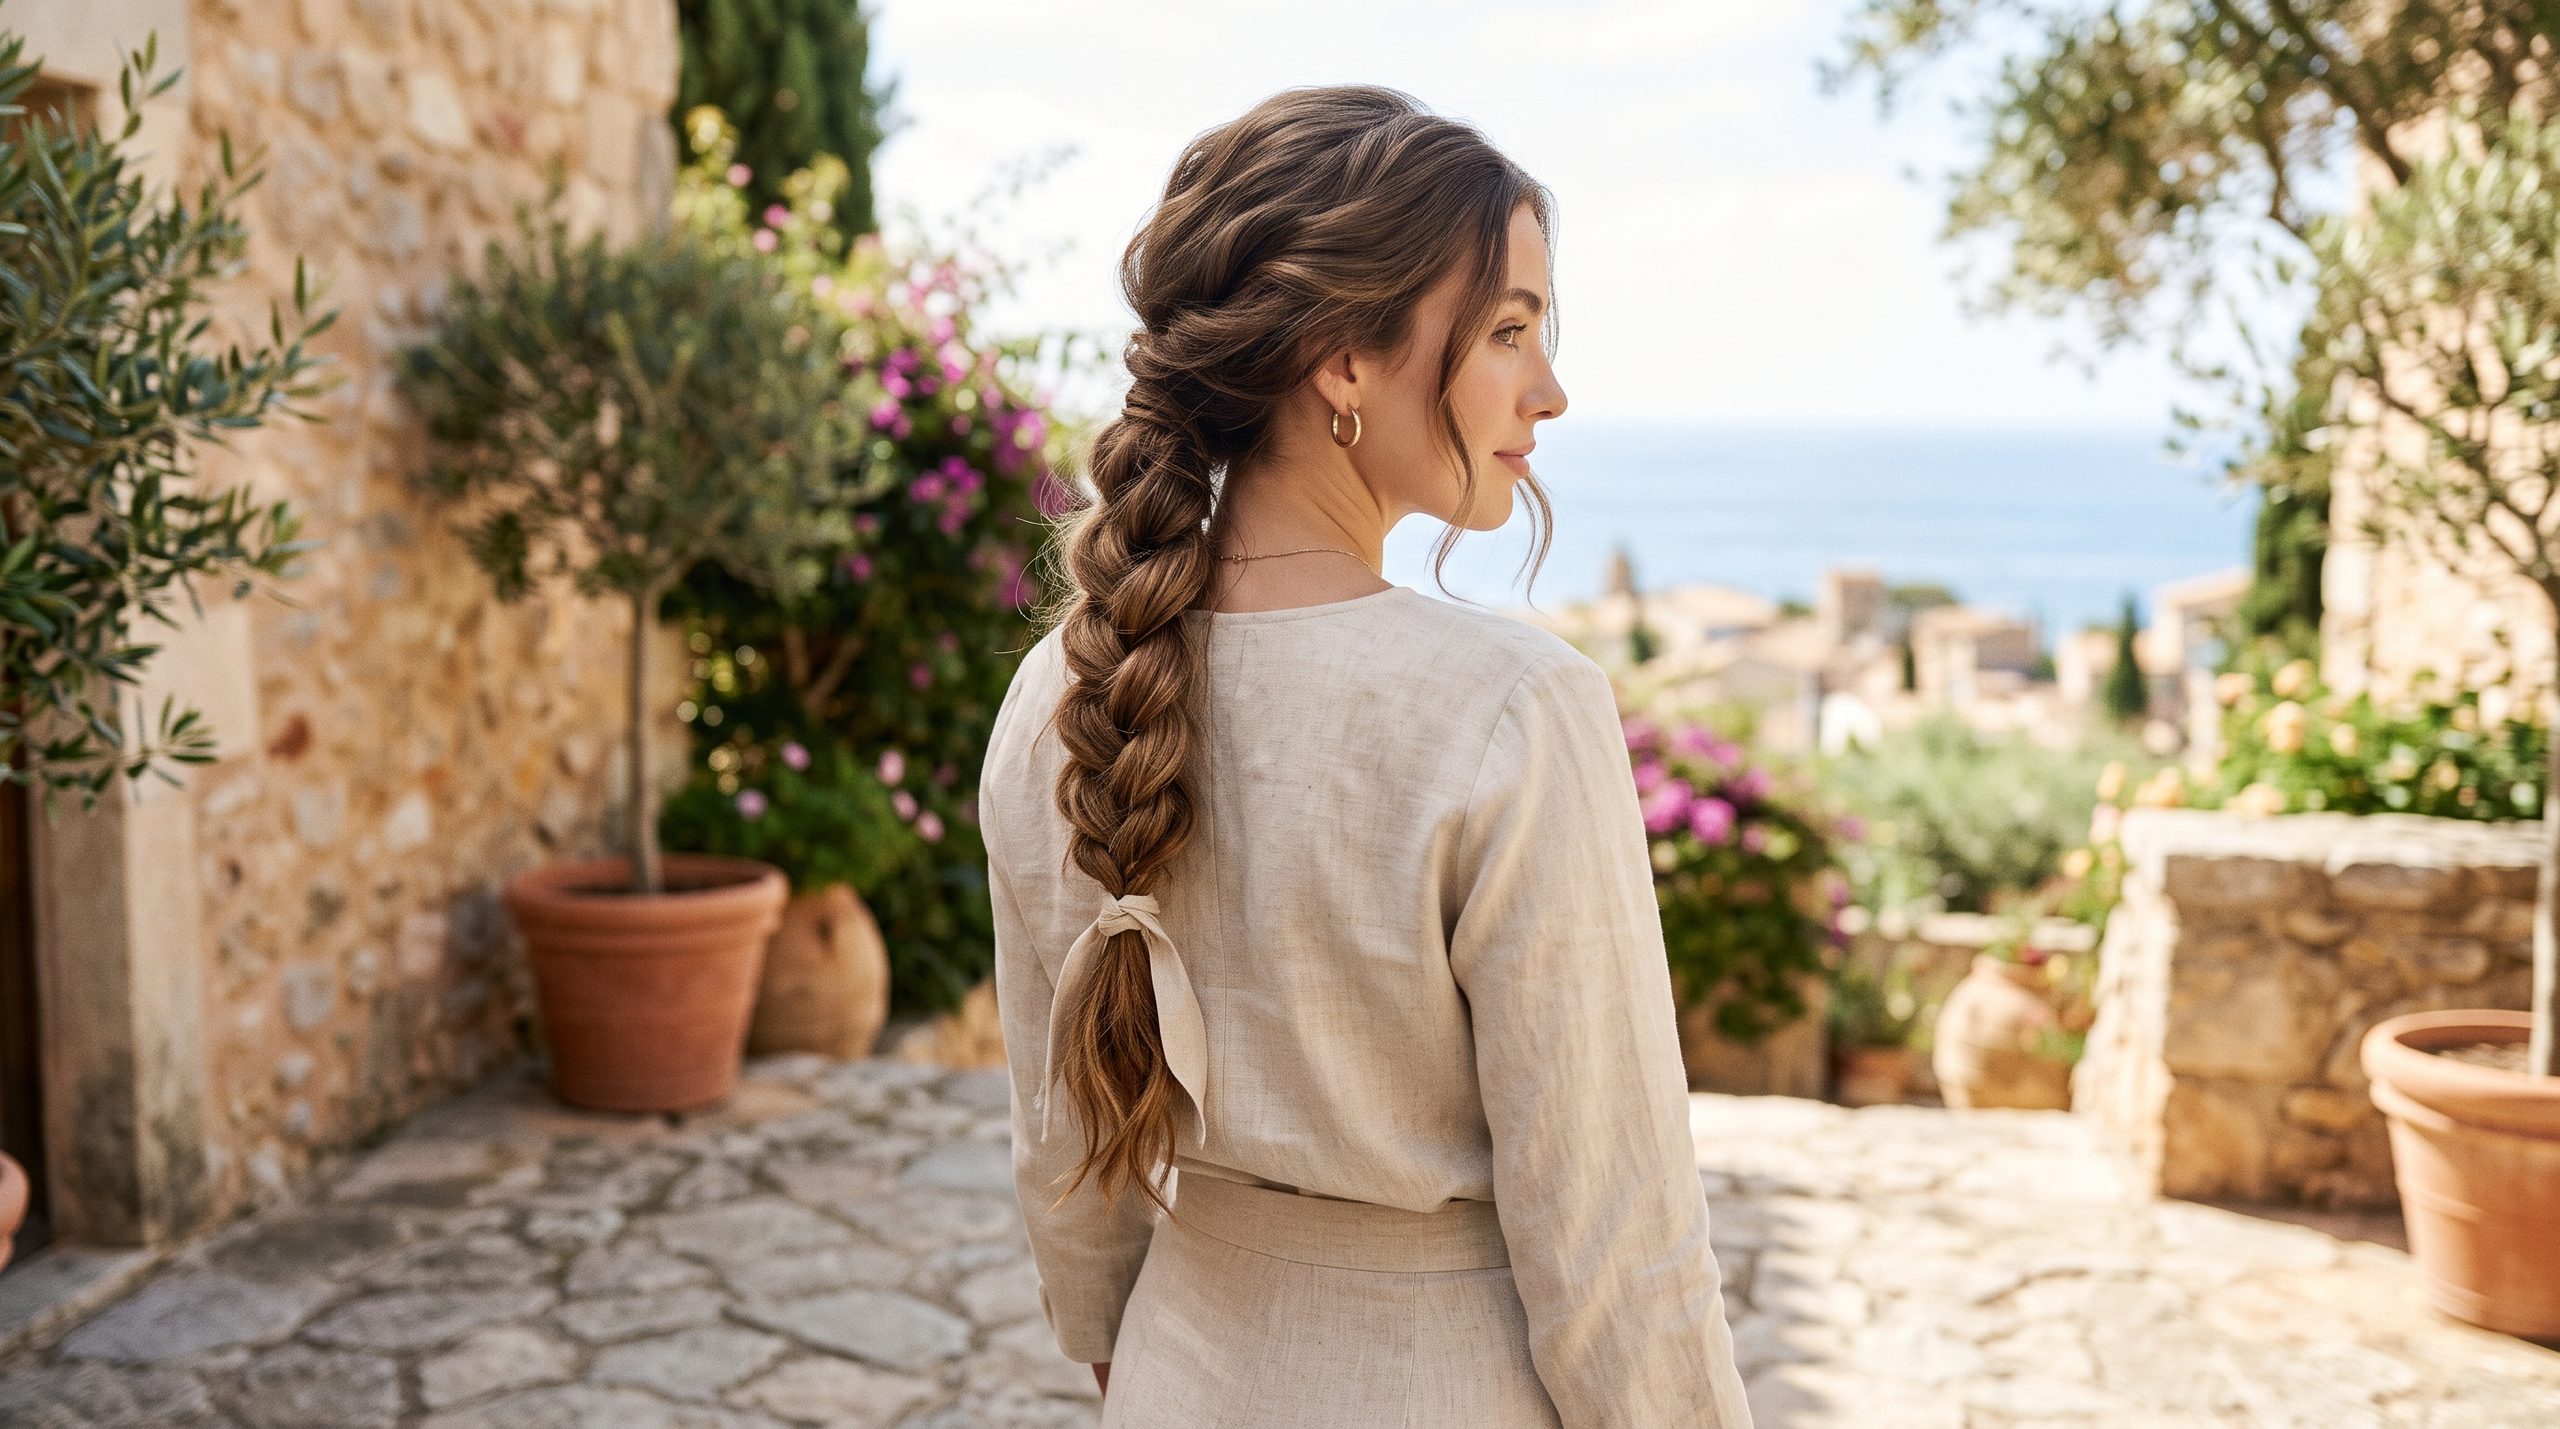
A ponytail is fast, but it can also feel flat if you tie it the same way every single day. Adding a braid changes that instantly. It brings texture, shape, and a little extra polish without asking you to master a complicated updo. That’s the appeal of a breezy braided ponytail hairstyle: it looks like you spent time on your hair even when you only spent ten minutes.
This roundup gathers ten easy variations you can rotate through depending on your mood, your hair length, and how much time you have before you walk out the door. Most of these looks are friendly to straight, wavy, and curly textures, and nearly all of them can be adjusted for medium or long hair. If your strands tend to feel thin or flat by midday, a quick spritz of texturizing spray and a little backcombing at the root will help any of these styles hold their shape longer. For extra product guidance, Marie Claire’s guide to braided ponytail essentials is a solid outside resource if you want to build out your kit.
Below you’ll find ten breezy braided ponytail hairstyle ideas, each with a short how-to, a styling tip, and notes on which face shapes and hair types tend to suit it best.
Quick Prep Before You Start
A few minutes of prep makes almost every style on this list easier to execute and longer-lasting. Start with dry or slightly damp hair — fully wet hair is harder to braid neatly and tends to shift once it dries. Brush out any knots first, then run a light leave-in or texturizing spray through the mid-lengths and ends. If your hair is naturally slippery or fine, a small amount of dry shampoo at the roots gives your fingers more grip, which makes each braid section easier to control. Keep a handful of clear elastics, a few bobby pins, and a tail comb nearby so you’re not stopping mid-style to dig through a drawer.
For more long-braid inspiration, explore these easy trending long braid hairstyles for 2026.
Breezy Braided Ponytail Hairstyle Ideas Worth Bookmarking
1. Crown-Wrapped Ponytail
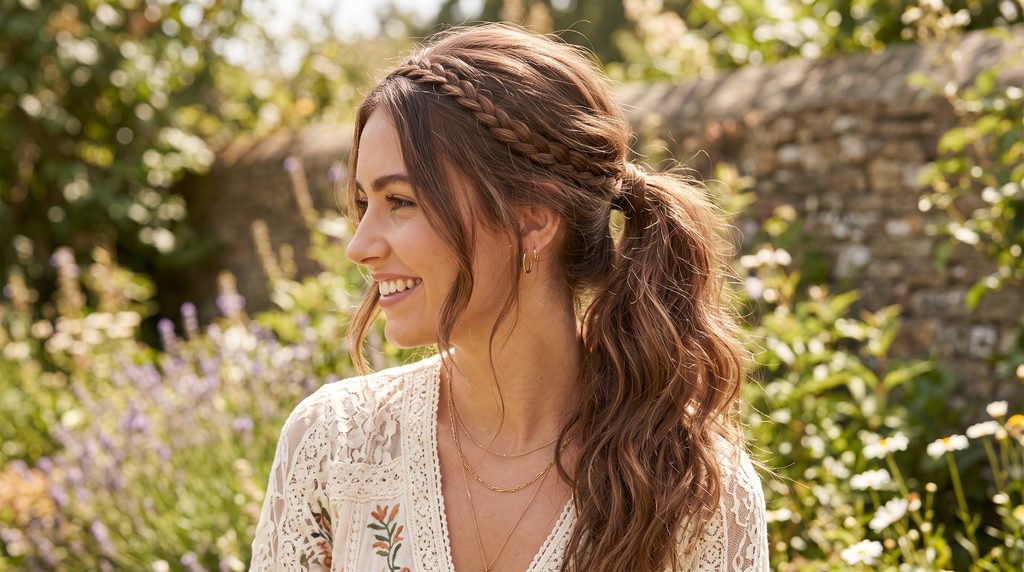
This style takes a thin braid and carries it around the front hairline before it disappears into the ponytail elastic. The braid reads almost like a headband, which gives the whole look a slightly bohemian, festival-ready feel while keeping your hair fully off your face.
How to style it: Section off a strip of hair at your part, braid it loosely toward your ear, then continue gathering the rest of your hair into a mid ponytail so the braid blends in at the base.
Best for: Round and oval faces; works on straight or wavy hair.
Tip: Pull on the braid gently once it’s secured to widen it slightly — a tighter braid looks more formal, a looser one looks more relaxed. This is a good pick when you want your hair fully off your face for a warm day but still want it to look intentional rather than just pushed back.
2. Low Side-Swept Braid Pony
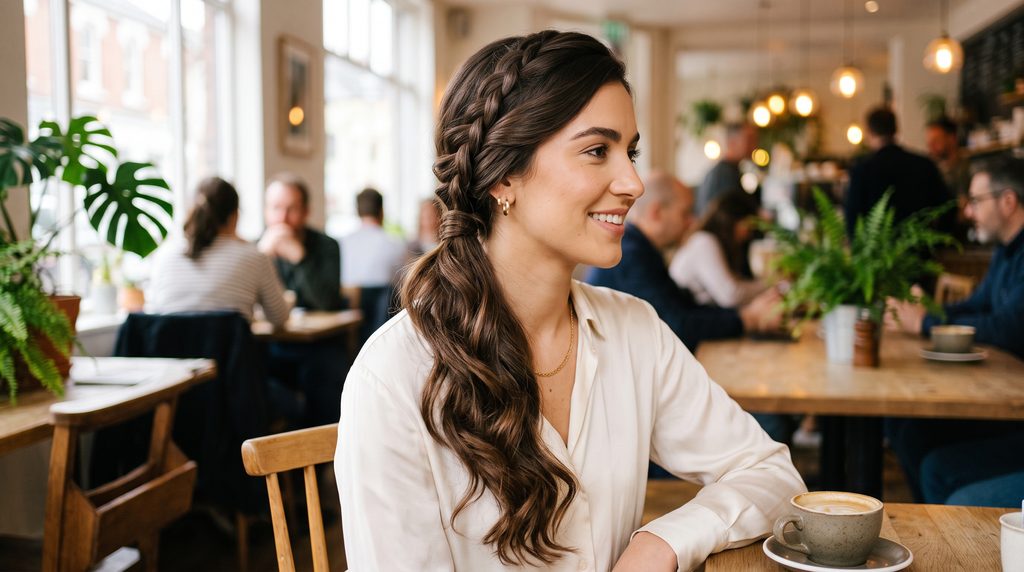
Instead of centering everything, this look shifts the braid and the ponytail off to one side. It’s an easy way to soften a plain ponytail and adds a bit of asymmetry that photographs nicely.
How to style it: Create a deep side part, braid a section from the heavier side back toward the nape of your neck, then pull all your hair into a low ponytail on that same side.
Best for: Heart and long face shapes; flatters most hair textures.
Tip: Curl the ends of the ponytail with a one-inch barrel for extra movement once the braid is set. Because everything sits low and to one side, this style tends to look effortless even by the end of a long day, which makes it a strong option for the office or a coffee run.
3. Bubble-Sectioned Ponytail
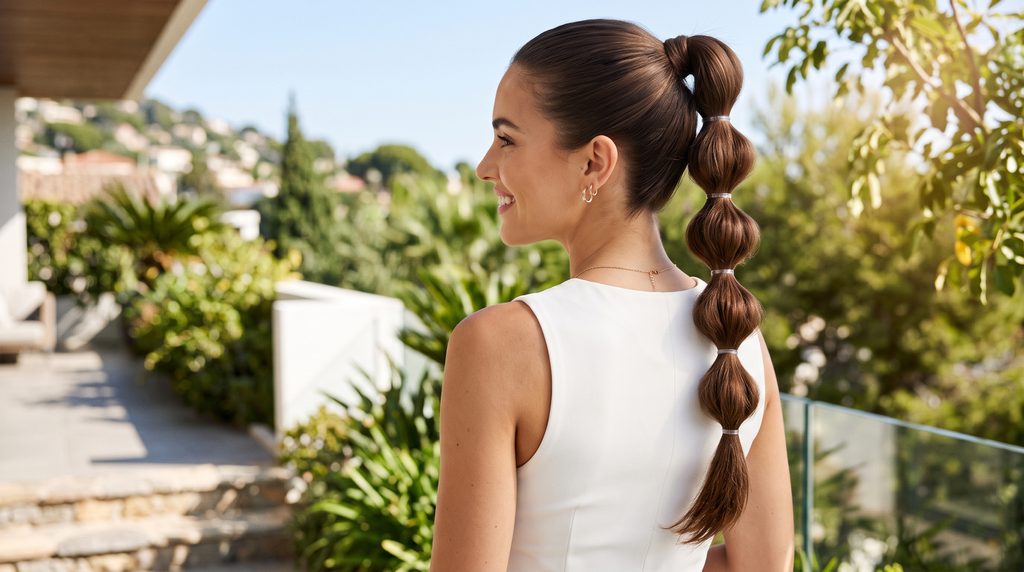
This look uses small elastics spaced evenly down the length of a ponytail to create rounded, braid-like sections. It’s one of the quickest ways to fake texture if actual braiding isn’t your strong suit yet.
How to style it: Tie a high or mid ponytail, add a small clear elastic every two to three inches down the length, then gently pull the hair between each elastic outward to puff it.
Best for: Round, oval, and heart faces; especially pretty on thicker hair.
Tip: Tease each bubble slightly before puffing it out so it holds volume through the day. This style is forgiving of imperfect sectioning, which makes it a reliable option when you’re short on time but still want something that looks a little more done than a plain elastic-tied ponytail.
4. Dutch-Braided High Pony
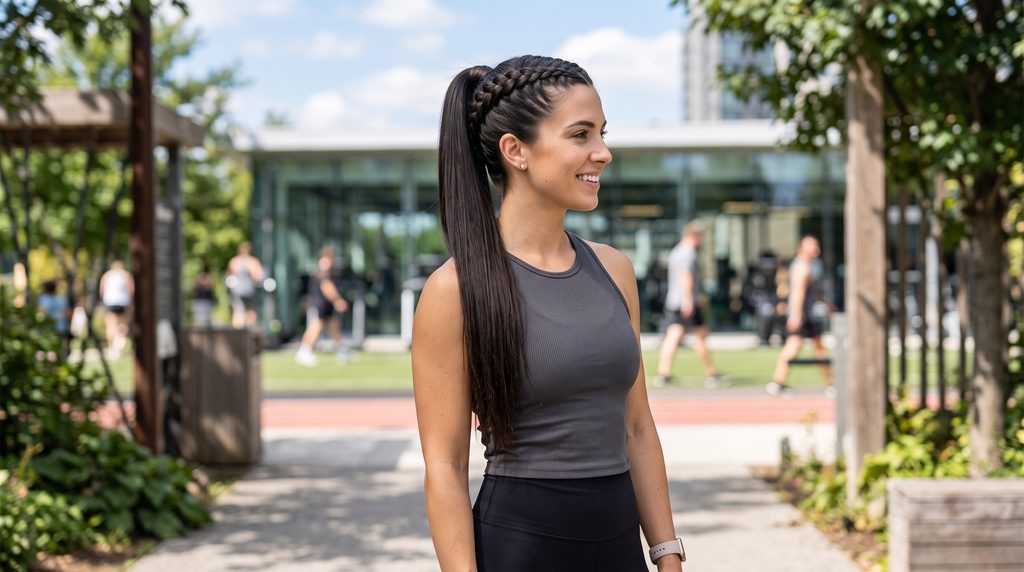
A raised Dutch braid running from the front hairline into a high ponytail gives this look a sportier, more athletic energy. Because the braid sits on top of the hair rather than blending into it, the texture is much more visible.
How to style it: Start a Dutch braid near your front hairline, work it back toward the crown, and secure the remaining length into a high ponytail.
Best for: Oval and long faces; suits straight, wavy, and curly hair alike.
Tip: Smooth a small amount of styling cream over each section before braiding so the pattern stays crisp instead of frizzing out. If you like added height at the crown, this is one of the few styles on the list that naturally builds it in without any backcombing.
5. Loop-Through Braid Ponytail
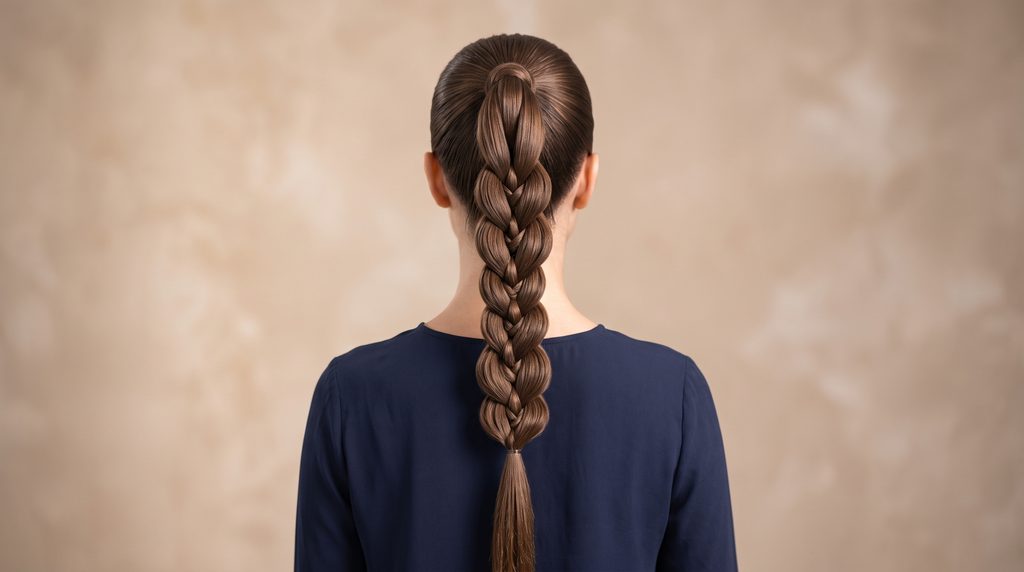
Rather than a traditional over-under braid, this style loops small ponytail sections through each other, creating a chain-like pattern that looks intricate but takes almost no skill to execute.
How to style it: Gather hair into a ponytail, divide a section, secure it with a small elastic a couple of inches down, split that section in half, and pull the ponytail through the gap. Repeat down the length.
Best for: Oval and round faces; best on medium-to-long, straight or wavy hair.
Tip: Keep each loop the same size for the most even, polished pattern.
6. Fishtail-Accent Pony
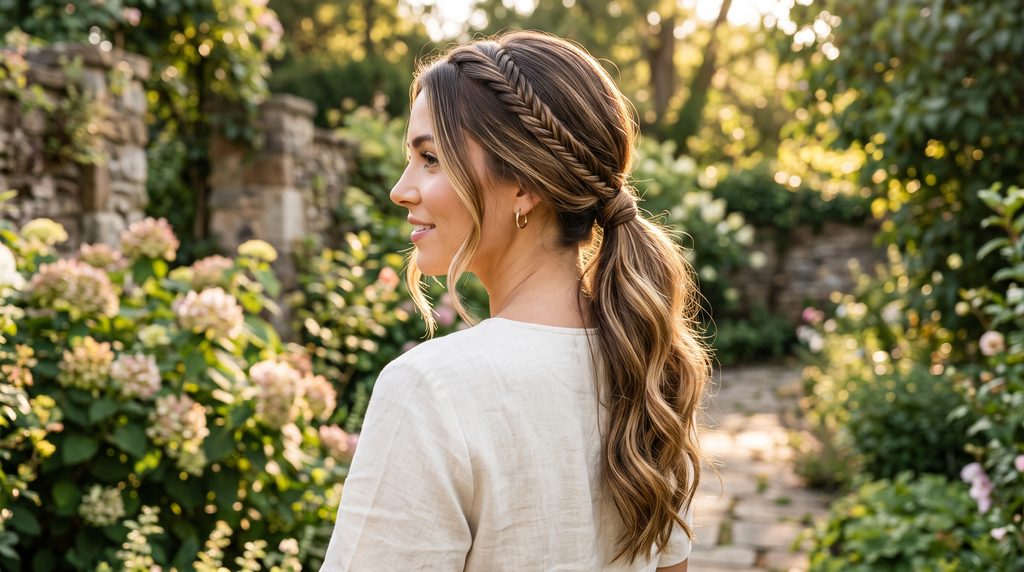
A single fishtail section blended into an otherwise simple ponytail adds detail without requiring you to fishtail the entire length of your hair. It’s a nice middle ground between a plain pony and a fully braided one.
How to style it: Fishtail-braid one front section of hair, then gather everything, braid included, into a low or mid ponytail.
Best for: Long and heart-shaped faces; especially flattering on hair with highlights, since the woven strands catch the light.
Tip: Use thinner sections when fishtailing for a more delicate, defined weave.
7. Wrap-Around Base Pony
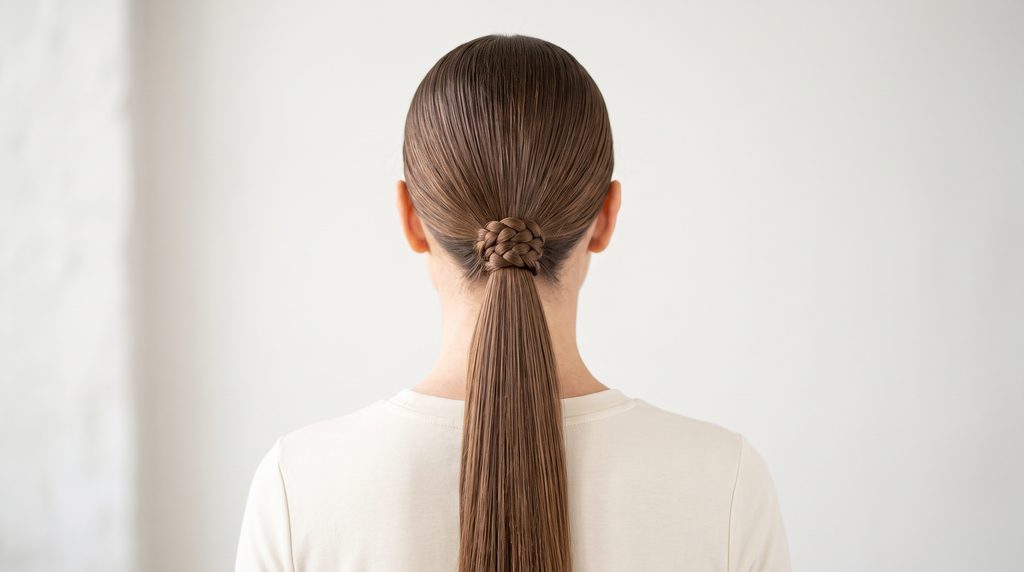
This one focuses on the base of the ponytail rather than the length. A small braid wraps around the elastic to hide it completely, which instantly makes a basic ponytail look more finished.
How to style it: Tie a mid ponytail, leaving one small section free. Braid that section, wrap it around the base of the ponytail, and pin the end underneath, out of sight.
Best for: Oval, round, and heart faces; works well with straight, wavy, or curly hair.
Tip: Leave slightly more hair than you think you’ll need for the wrap — it’s easier to trim the excess pin placement than to run short mid-wrap.
8. Double Braid Ponytail
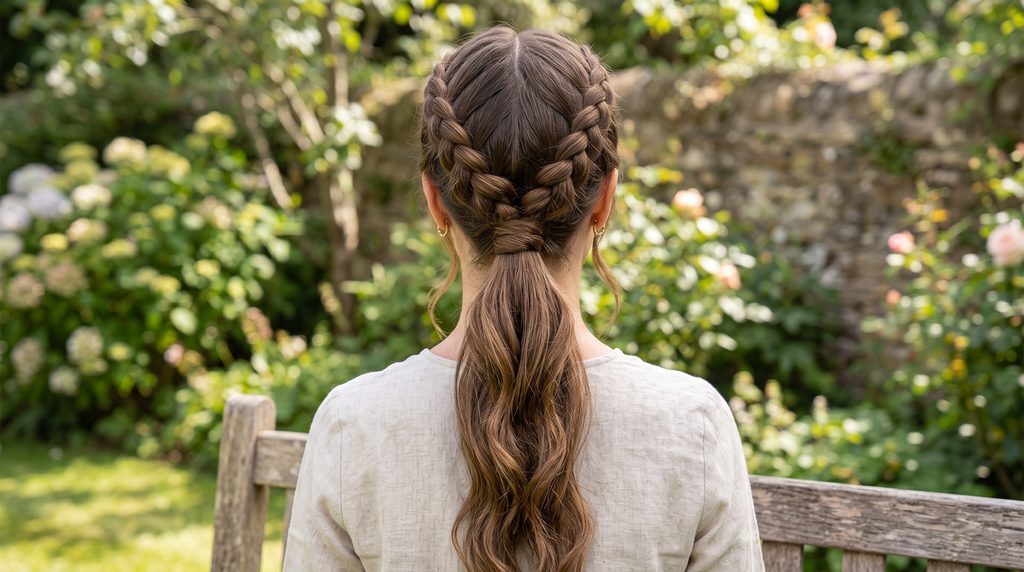
Two smaller braids, one on each side of the part, join together at the back into a single ponytail. It’s a symmetrical option that frames the face from the front while keeping the back of the style simple.
How to style it: Part your hair down the middle, braid a section on each side back toward the nape, then combine everything into one low or mid ponytail.
Best for: Round, oval, and long faces; a good option if you have shorter face-framing layers you want tucked away neatly.
Tip: Keep the two braids the same tightness and size so they read as a matched pair from the front.
9. Twisted Rope Pony
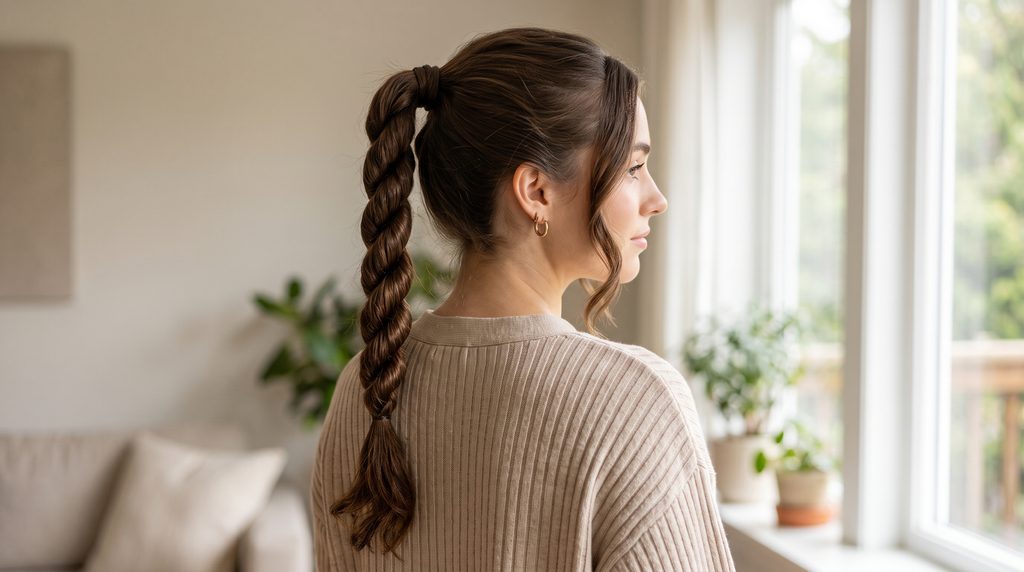
A rope twist is faster than a three-strand braid but delivers a similar textured effect. Two sections are twisted individually, then wrapped around each other in the opposite direction.
How to style it: Gather a ponytail, split it into two even sections, twist each one tightly, then twist the two sections around each other and secure the ends.
Best for: Heart, oval, and round faces; especially nice on wavy hair, since the texture blends naturally into the twist.
Tip: Twist in one direction and wrap in the opposite direction — this is what keeps a rope twist from unraveling.
10. Sleek-Top, Braided-Length Pony
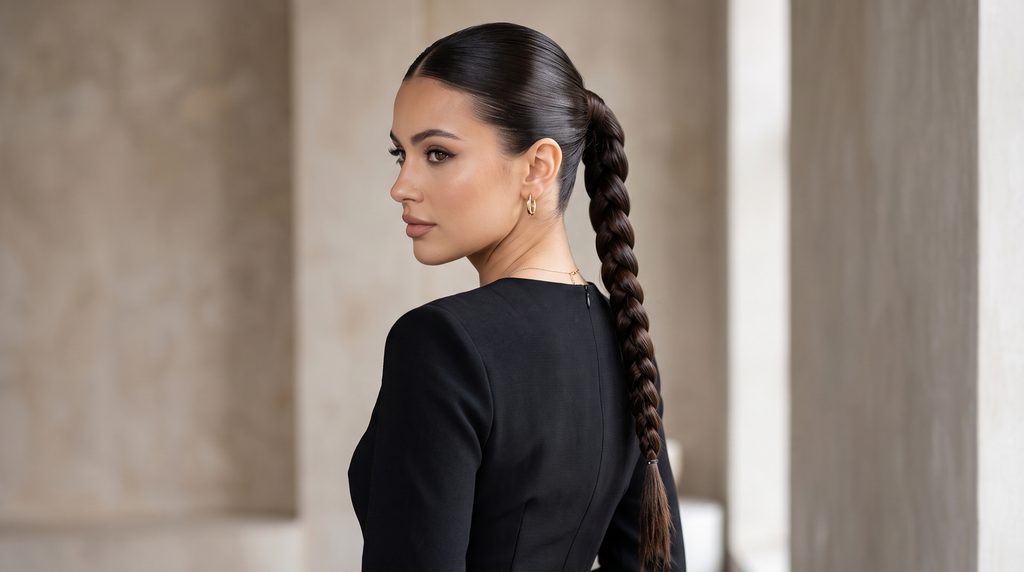
This look pairs a smooth, controlled top section with a braided ponytail length, giving you the best of both a polished style and a textured one. It also tends to hold up well in humid weather since the smooth section resists frizz.
How to style it: Brush the top section completely smooth before tying it into a ponytail, then braid some or all of the ponytail’s length and secure the end.
Best for: Oval and long faces; suits straight, wavy, and curly hair.
Tip: Use a boar-bristle brush on the top section for the smoothest possible finish before you tie the elastic.
Final Thoughts
A breezy braided ponytail hairstyle is one of the easiest ways to upgrade a routine you probably already do every day. None of the ten looks above require salon-level skill, and most can be adjusted looser or tighter depending on whether you want a casual, everyday finish or something a little more done-up for an evening out. Start with whichever style matches your current hair length and comfort level, then experiment with loosening the braid, adding a curl to the ends, or wrapping the base — small tweaks that make the style feel personal rather than copied straight from a tutorial.
Pick one to try this week, and don’t be afraid to mix elements from two different styles once you get comfortable with the basic techniques.
FAQs
Is a braided ponytail practical for everyday wear? Yes. Most of these styles take under fifteen minutes once you’re familiar with them, and a slightly looser, more lived-in braid actually looks more natural for daytime wear than a tight one.
Do these styles work on fine or thin hair? They can. Bubble-sectioned ponytails and loop-through styles tend to be the most forgiving on fine hair because the sectioning itself creates the appearance of extra volume. A light backcombing at the crown before you start also helps.
What hair length works best? Medium to long hair gives you the most flexibility, but several of these styles — particularly the wrap-around base pony and the double braid pony — can be adapted for shoulder-length hair with a few bobby pins for extra hold.
How do I keep a braided ponytail from looking too stiff? After you finish braiding, gently pull apart a few sections along the edges of the braid. This loosens the pattern just enough to look soft and natural instead of overly neat.
Which style is easiest for a beginner? The wrap-around base pony and the twisted rope pony are both good starting points. Neither requires true braiding technique, and both are quick to redo if your first attempt doesn’t look quite right.